My daughter turned three in August and she was beyond excited about her birthday-day! We threw a big (Disney) Frozen “In the Summer” themed birthday party for her, so the week of her birthday I was busy running errands and doing party prep. I didn’t want to take a week-long break from our Fun School Preschool activities though. So I took one day that week and we did some counting and math activities (using birthday candles and a Play Doh “cake”). And we also got messy with some paint for this fun (and really easy) birthday craft for kids!
The best part about this activity was having two kiddos working on it together. I watch another little girl during the week who has become my daughter’s BFF, and the neat thing about this birthday week is that both girls are the same age: only two days apart. So it was both of their birthday week and they loved every minute of it. To add to their excitement and help them with an early celebration, I had the girls paint their own “Happy Birthday” banner. Then I hung it up in the house so they could look at it all week and we left it up for the birthday party too.

BIG DISCLAIMER: I highly recommend doing this activity outdoors or in a garage or on a kitchen (or hard surface) floor. It could get messy!
A Birthday Banner is a fun birthday craft for kids that is super easy to do. You can give them a variety of items to paint and decorate with (including their bodies which is what my kid always opts for). Check out the pool noodle paint stamping idea from this Ocean Activities and Games post too.
This post may contain Amazon or other affiliate links for products that I use and love and think you will enjoy too! You can read my full Disclosure Policy HERE.
Supplies you’ll need:
- Roll of 12 inch banner or Easel paper (this is the paper roll I use and bought on Amazon)
- Clear tape
- Duct tape or other heavy duty tape
- Thick Sharpie or other THICK permanent marker (black works best)
- Washable Kids’ Paint (I use this Crayola kids paint because it really is washable)
- Paint brushes (in different sizes), pool noodle pieces, pipe cleaners (use as paint brushes), markers, crayons, stickers, glitter, rubber stamps
- Step 1: Roll out TWO sheets of paper about 6 feet long (or longer if you like). Attach the long edge of the pages together using the clear tape (try to match them up as best as you can). You will now have one large piece of paper that is approx 2 ft by 6 ft. NOTE: Depending on how rough your child is, you may need to double or triple up on the tape to make sure the edges really stick together. Or maybe tape both sides of the paper, just to be safe. For us personally…we use a lot of tape.
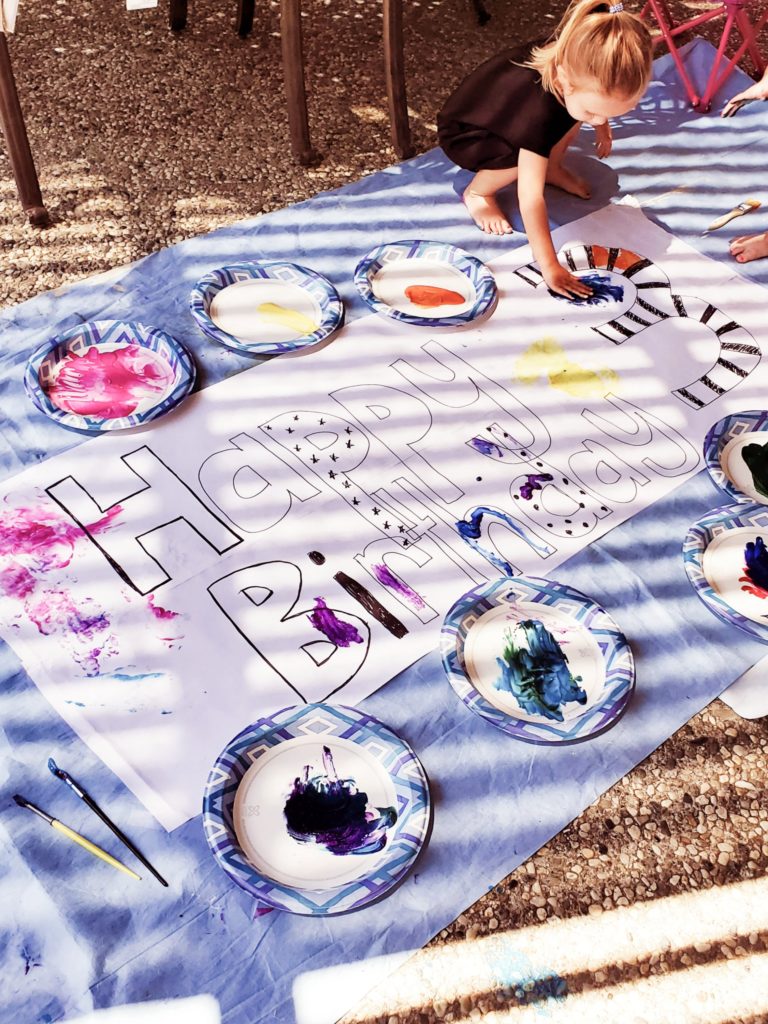
- Step 2: Using the thick permanent marker write “HAPPY BIRTHDAY” in the best block or bubble letters you can. I wrote the word “HAPPY” on the top half of the page and “BIRTHDAY” in the bottom half. I also added a large “#3” at the end of the words too. You could also add your child’s name. There’s no right or wrong way to do it. TIP: Make the letters as bold as possible so they will stand out under the paint and decorating.
- Step 3: Tape the banner to the ground using the Duct tape or other heavy duty tape. I taped all four edges plus the top, bottom and sides to make sure the paper stayed securely on the ground. I happened to have a painter’s drop cloth in the garage so I actually taped that to the ground first, then taped the banner onto it (I have a very messy kid). Having the banner taped to the ground also helps for drying purposes.
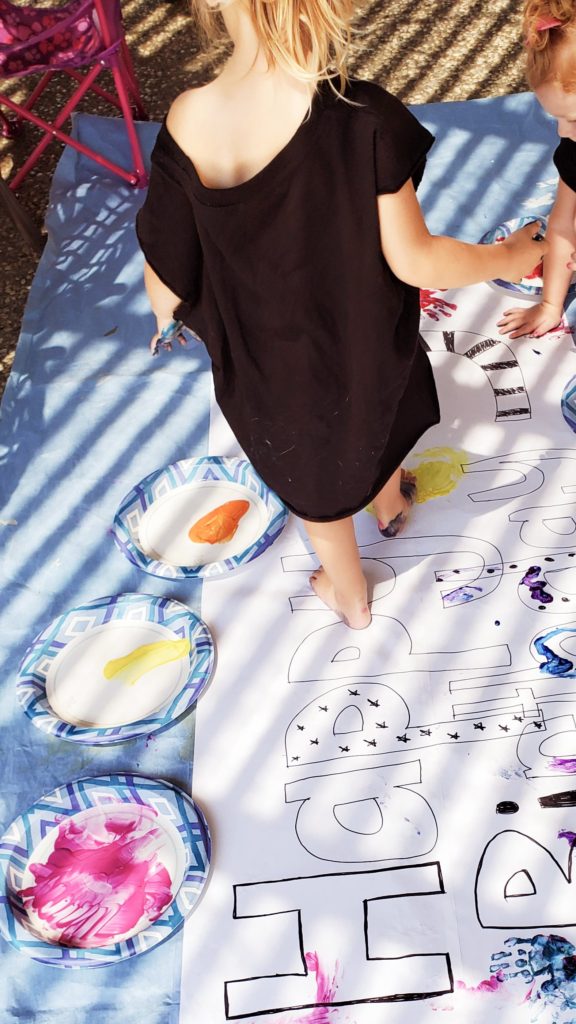
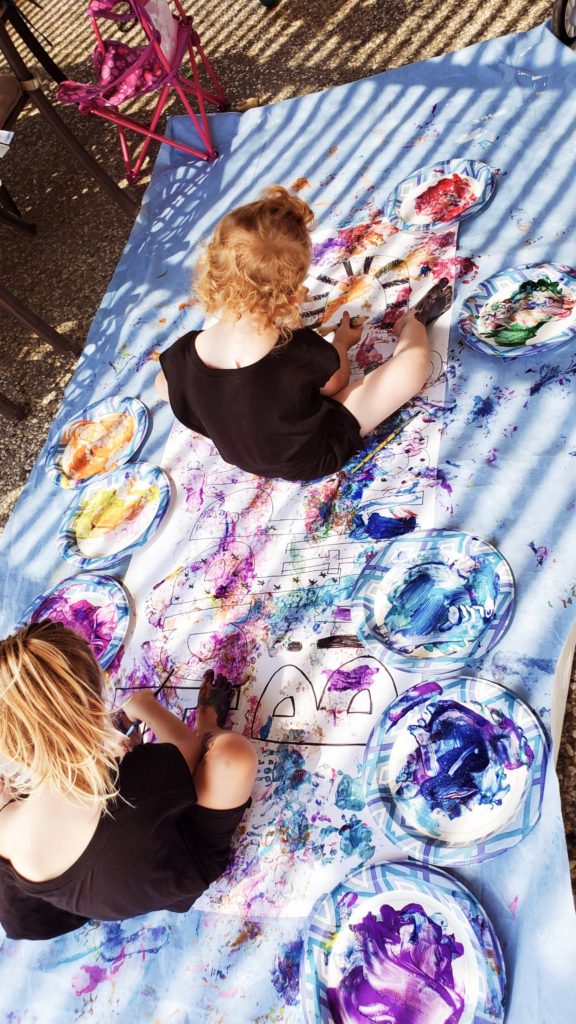
- Step 4: Pour multiple colors of paint onto paper plates (or scrap pieces of cardboard). Put the paint brushes, and any other decorating tools, out around the banner.
- Step 5: Put your kid in clothes they can get messy in (or minimal clothing…weather permitting), and let them decorate the banner however they like. Let dry and it’s ready to hang!
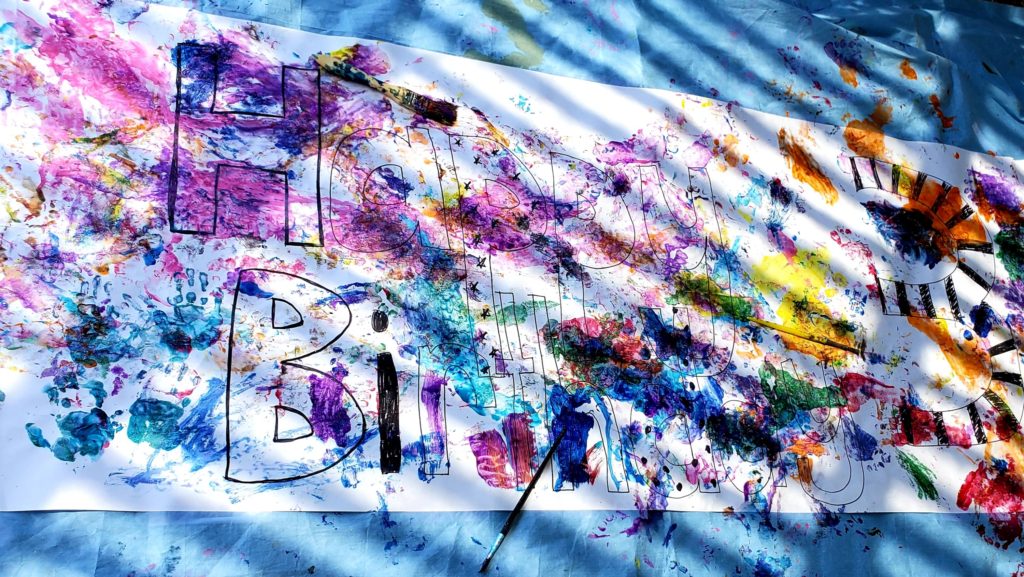
As you can see from these photos, the girls ended up body painting their banner and themselves but had a total blast! And then had a much needed bath afterwards.


Even though I’m calling this a fun birthday craft for kids, it doesn’t only have to be for birthdays. Make a rainy day banner if you need something for those restless littles to do. Make a banner for someone else’s birthday or celebration. Or even just to welcome home daddy or mommy from work!
