Valentine’s Day is a perfect opportunity to teach kids about kindness, friendship, and making others feel special, through the small gesture of giving a valentine. Whether you are a homeschool family like us, have a kiddo in public school, or just want to show someone how much you love them this Valentines Day, here are some of our favorite easy valentines for kids (of all ages) to make and give out!
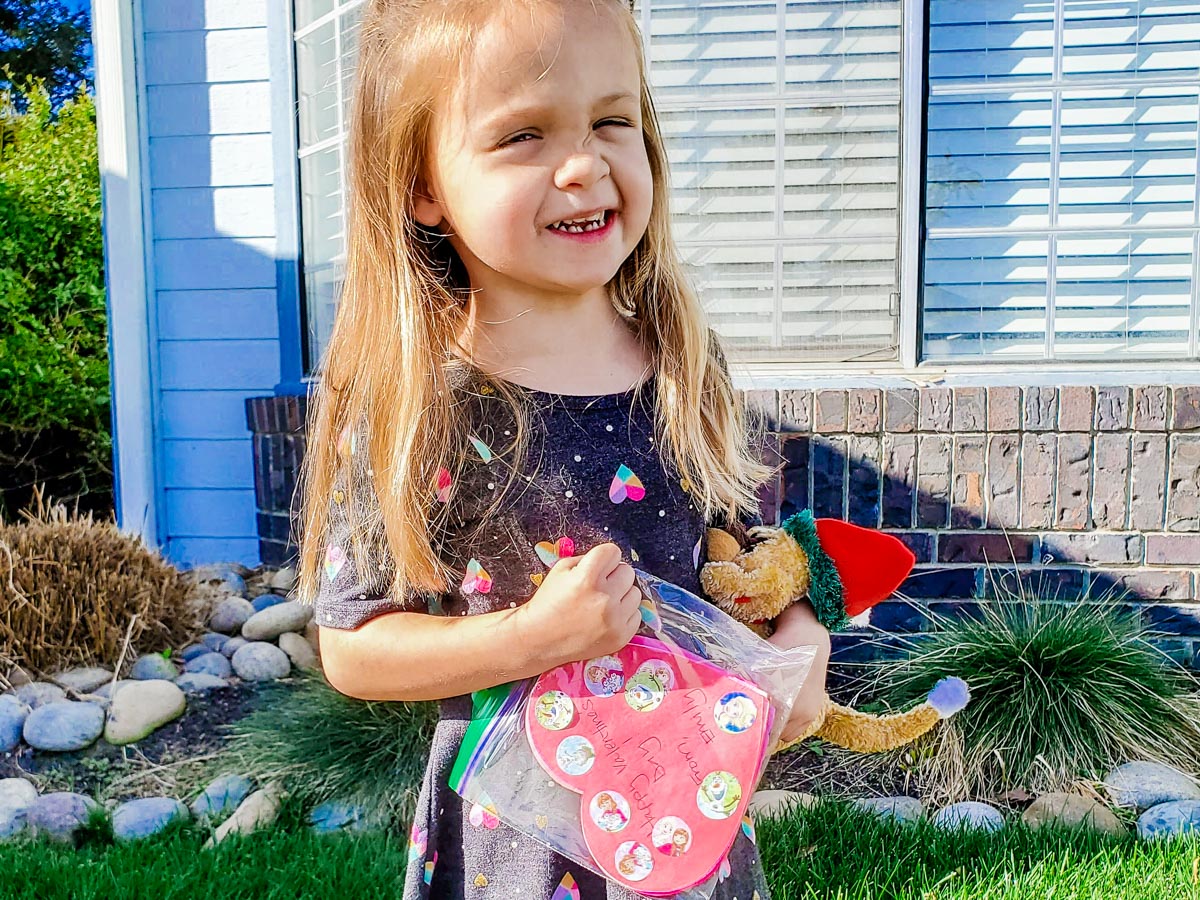
Did you love giving and receiving those fun, silly valentines from your classmates and friends at school? I absolutely did, and looked forward to Valentine’s Day every year! When I became a homeschool mom, I often thought about how I could still give my daughter a similar “Valentine” experience since she wouldn’t be in a traditional classroom setting. So, in preschool, I had her make paper heart valentines that she gave out to the kids at our library story-time, and to people at the grocery store, and to people at the park, she loved it so much!
Fast forward to today, she still looks forward to giving out valentines to others – family, friends, strangers at the store. She also gets to be in a classroom every week now, so the students have the option of exchanging valentines around Valentine’s Day and I am so glad she gets the chance to receive them, in addition to handing them out!
🎉 Get $20 Off Outschool Classes!

Easy Valentines for Kids to Make
This post may contain Amazon, or other, affiliate links for products that I personally use and recommend for kids and homeschool learning. This means I will earn a small commission if you purchase through my link, and if you do, we thank you so much! For more information, please read the full Disclaimer and Disclosure.
PERSONALIZED PAPER HEART VALENTINE
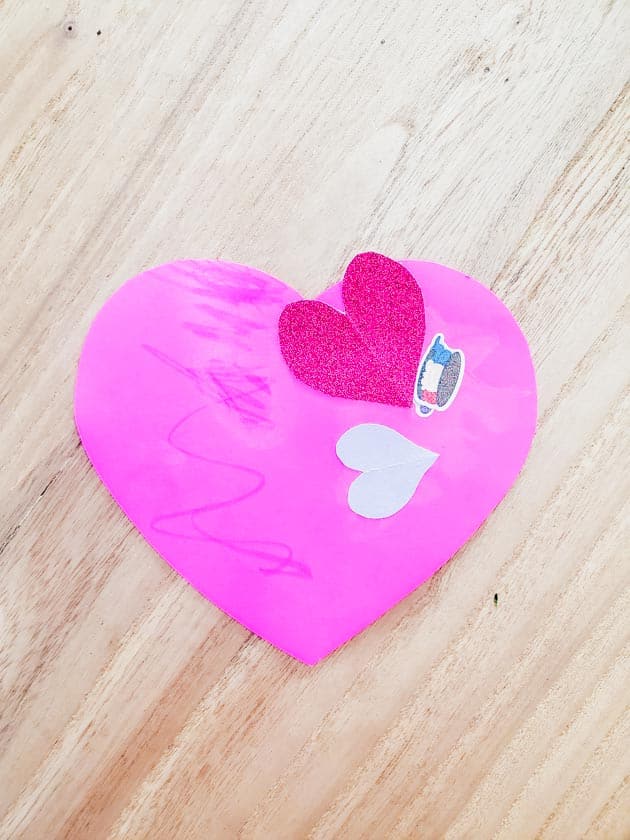
This handmade valentine is perfect for toddlers and little kids.
Here’s what you’ll need:
- construction paper
- scissors
- markers or crayons
- stickers – we love these motivational stickers and funny animal stickers
- optional: WASHABLE glitter glue
Instructions: Fold a piece of construction paper in half “hamburger” style and cut out a half heart shape, so that you have a full heart when you open the paper. Make multiple hearts in various sizes. Then let your kids decorate the hearts with drawings, stickers, little messages, and glitter glue.
“HI” FIVE BFF VALENTINE w/ sticky hand toy
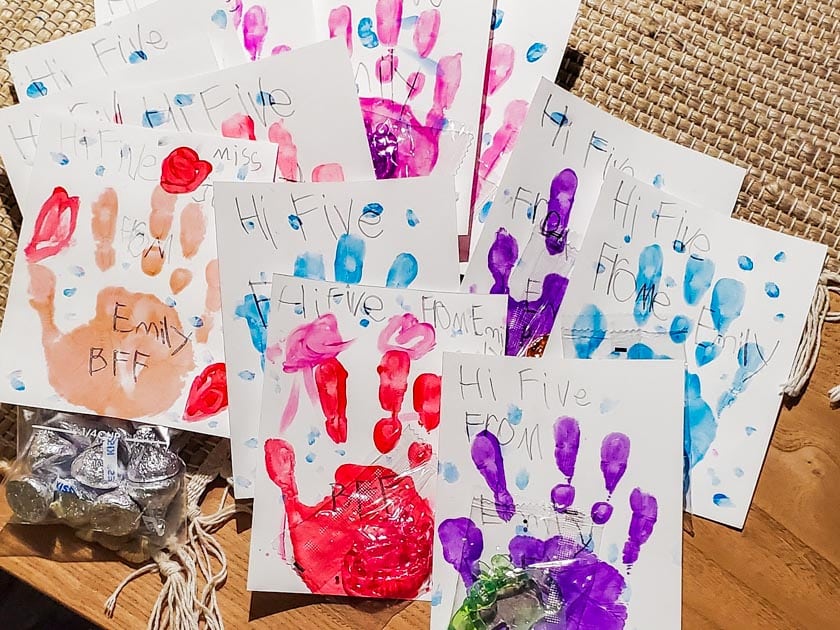
My daughter came up with a version of this when she was in first grade and I thought it was adorable! The purpose of the card was to give the recipient a “high five” by putting her handprint on the card that they could slap with their hand. But she thought it would be funny to also say “Hi” along with giving them a high five. And so, the “Hi” Five Valentine was born.
Here’s what you’ll need:
- white cardstock paper – letter size 8.5 in x 11 in
- scissors
- washable paint – I’m a huge fan of this Crayola washable paint for kids
- medium thick paintbrush
- Black Marker
- optional: sticky hand toy
- Glue Dots
Instructions:
Fold the cardstock paper in half horizontally, then fold it in half vertically, then cut your folds so you end up with 4 equal-ish rectangle “cards”. Repeat this step until you have the number of cards you want.
Lay the cards out on a surface that can get messy. I like to lay down a cheap, disposable plastic table cloth on the floor and do the craft on that – it makes for easy clean up. I always stock up on these at the dollar store so I have them ready whenever needed.
Next, using the washable paint and paint brush, paint the palm of your child’s hand and help them press it evenly onto one of the cards. Repeat on the other cards using multiple colors of paint. You can also make a multi-color handprint by painting each finger and the palm different colors.
You child can also paint little hearts or dots around the handprint to personalize it even more.
Let the handprints dry for about 30 minutes.
Once the handprints are dry, use the black marker to write “Hi Five” above the handprint on the card and “BFF” or “Friend” or “Valentine” on the palm of the handprint.
Write From: (child’s name) somewhere on the card too (it can go on the back if needed).
The last step is to attach the sticky hand toy. Use a glue dot to attach the toy (in it’s plastic wrapper) to the palm of the handprint. Glue Dots worked the best to keep the toy attached.
I think the sticky hand is what made these Valentine’s a huge hit. I like these sticky hand toys the best because they are thicker and don’t break as easy. You can actually rinse them off and reuse too!
SILLY JOKE AND GAME VALENTINES (PRINT-AT-HOME)
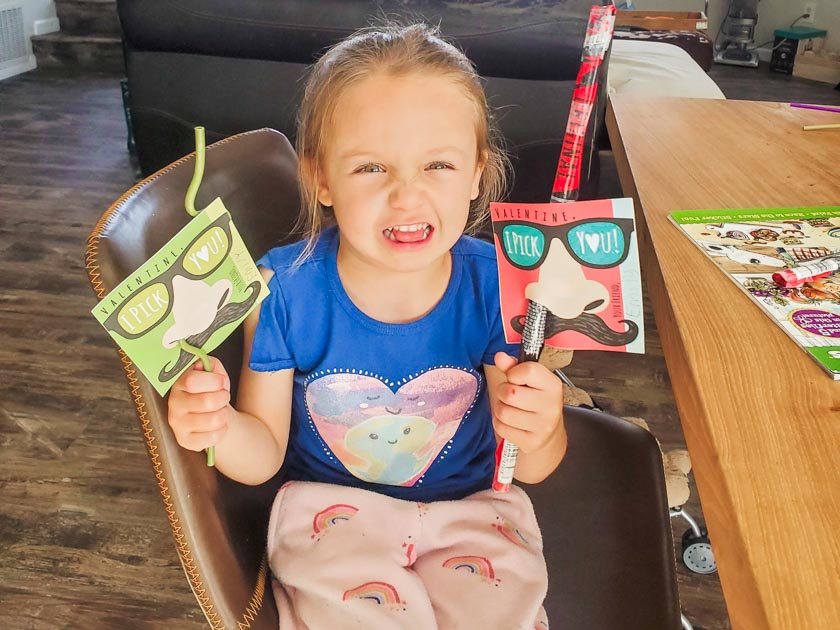
If you’re short on time, or don’t have the patience for crafts, Etsy is a great place to find digital print-at-home valentines like these fun ones! Just download, print, cut, sign, and go! Plus you’ll show a small business some heart day love by purchasing from them. 💖
You can find bulk straws, pencils, and mini erasers (to include with the cards) for cheap online or at the dollar store. Our 3 favorite print-and-go valentines from Etsy have been these:
- I’d Pick You (this one is the nose card shown in the photo above) – we added a crazy straw from this pack I got on Amazon. But one special card (for Dad) got a beef jerky stick
- You’re A-MAZE-ING this valentine is a cute card with a maze on it that kids can do. We added one of these color changing, inspirational pencils from Amazon
- TIC TAC TOE this is the valentine my daughter will be giving out this year! We will be including these heart erasers from Amazon that I will put in snack size resealable bags. Instead of erasers you could include chocolate heart or Hershey kisses type candies too. But you’ll want to pick something that has 2 different colors of wrapping for X’s and O’s. Another idea for this valentine is to laminate the cards and include a mini dry erase marker.
POP-OUT VALENTINE CARD
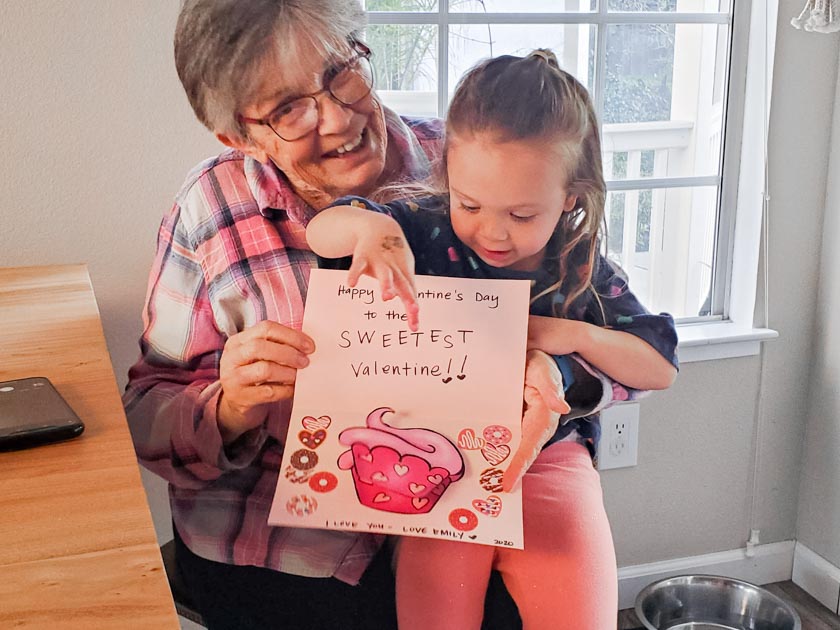
This one is fun for any age and it also provides some great fine motor skills practice for little kids!
A pop-out card is a folded, paper card but when you open the card some elements inside the card “pop out” at you. My daughter loves surprising people and pop-out cards make a fun Valentine’s Day surprise! There are many ways to make these cards, but this is the most kid friendly way we’ve tried.
Here’s what you’ll need:
- cardstock paper (color of your choice, this will be for the main base of the card)
- construction paper (in multiple colors of your choice)
- scissors
- glue stick (we use these Elmer’s glue sticks because they are truly washable)
- markers, crayons, colored pencils
- optional: glitter glue , stickers, feathers, string, ribbon, access to clip art
Instructions:
Come up with a plan for your card. What will be on the outside of your card? What do you want to pop-out on the inside of the card? A simple plan for little kids is to write Happy Valentine’s Day on the outside of the card. On the inside of the card have multiple, colorful hearts come popping out. Each heart can have a message on it or a sticker.
For the card pictured, my toddler wanted to make the card for her grandmother and wanted it to have a cupcake so I found some cupcake clipart (like this Valentine Cupcake Clipart set from Etsy) and we made the card with a cupcake as the pop out.
Choose the color cardstock for your card base and fold the paper in half horizontally (hamburger style). If a message or design will go on the front of the card, do that now. Then decide where you want your pop-outs to go inside the card (mark those spots with a pencil). If your child wants to make a design or write a message inside the card, do that now too.
Using construction paper cut out hearts, or other shapes, or have kids draw pictures that can be cut out (flower, animal, cupcake, donut). Make the shapes/pictures large enough to really pop-out but not so big that they can’t fit in the card. You can cut out shapes and then have kids decorate each shape with stickers, glitter, etc…
**If you are using clip art, size the image how you want it, then print it out on regular printer paper and cut it out.
Next, take another sheet of construction paper and cut it into ½ inch strips. These will be used for making the elements in the card pop-out. If you cut the strips lengthwise, the pop outs will fall forward more from the card. If you cut the strips shorter, the pop outs will have just a little pop to them.
Once you have the strips of paper, start at one end, and fold the strip back and forth like an accordion. If you need a tutorial, here is a quick video of me folding paper this way, to make jiggly “turkey legs” for a Thanksgiving craft. Repeat for as many pop-outs you will need for your card. The tighter you make the folds, the better it will pop out.
Assemble the pop-outs. At one end of the paper accordion strip, glue on the shape/element you want to pop out. Repeat this for all elements. Let the glue dry for a few minutes.
Now it’s time to put the pop-outs in the card! Glue the opposite end of the paper strips into the card where you want them to go. *Make sure to glue them down so the element is right side up*. Let the glue dry for a few minutes. Then gently push the element down against the inside of the card, making sure the accordion strip closes on top of itself, and close the card. Open it back up and SURPRISE! Your elements will pop-out at you.
HEART SHAPED SNACK WREATH
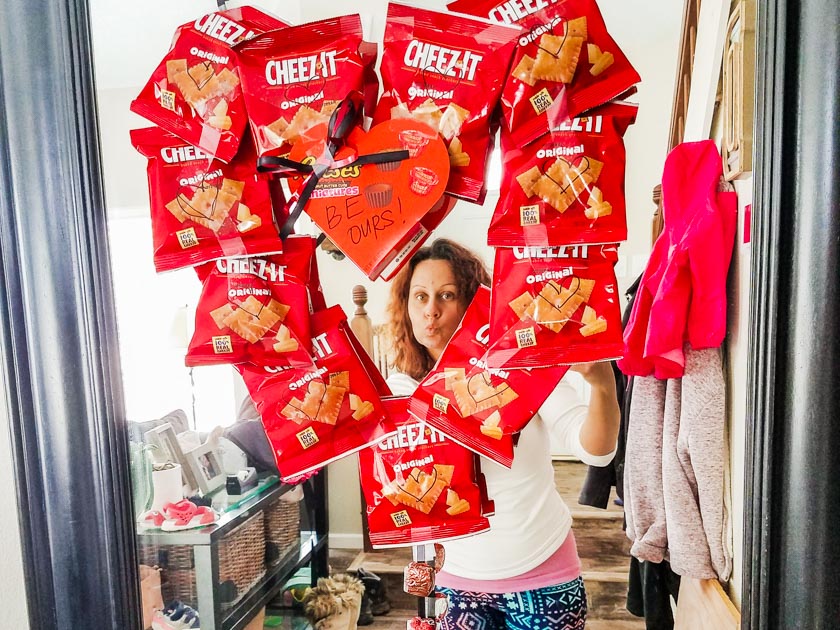
Do you know someone that loves snacks? My husband is a HUGE snacker so we like to make him heart wreaths with his favorite snacks! This snack wreath is easy to put together and you can make it as big or small as you want.
To make this you will need:
- a flat piece of cardboard or poster board (size depends on how large you want the wreath to be)
- snacks that come in individual bags (Cheezits, Goldfish, chips, cookies, etc…)
- tape or Glue Dots
- ribbon
- candy
- permanent Marker – if you want to make doodles or include a message
Instructions:
First, make a template by cutting a large heart out of the piece of cardboard or poster board. Then trace/cut another heart from the center of the first heart so you have a heart shaped “wreath”. If you want to get fancy with the template, have your kiddo paint or decorate it, or wrap it in wrapping paper.
Next, arrange the bags of snacks on the template. Once you have them arranged to your liking, tape them in place. Regular Scotch tape works well for this, but Glue Dots are less visible. Before I taped my bags down, I drew little hearts on each bag with a permanent marker.
Now you can add little extras to the wreath like small chocolates (or a small box of candy) in between the bags or hanging off the bottom, or edges. You can also add a bow.
The last step is to attach a ribbon to the back of the wreath if you will be hanging it up.
Whoever the lucky snack recipient (or recipients) is will think this is the best valentine ever!
HUGE PAPER HEART VALENTINE
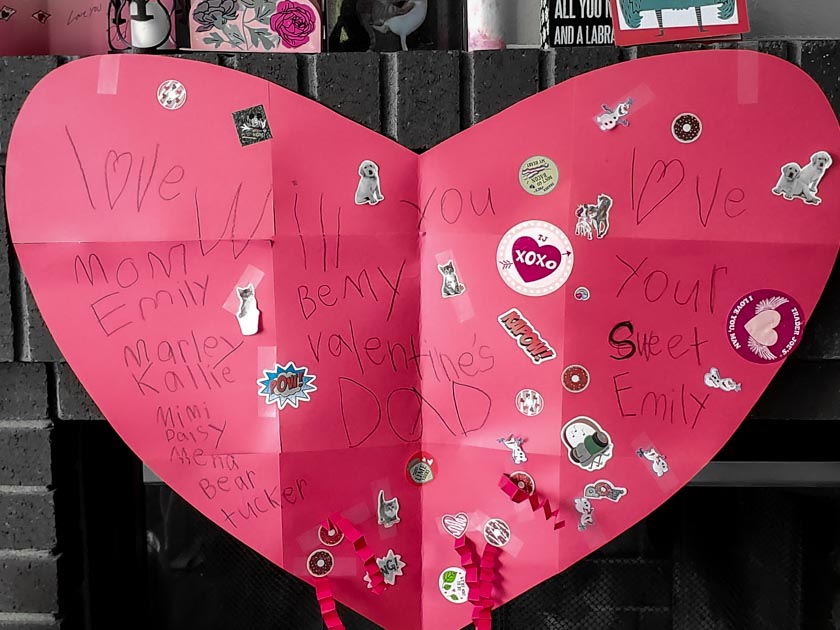
This awesome valentine is fun to make for one special person, especially if you have multiple kids to help decorate it.
All you will need is some red construction paper (or any color of choice), tape, scissors, markers or crayons, and some stickers or washable glitter glue to decorate with.
Start by taping multiple sheets of construction paper together. I think we used 9 pieces of construction paper for this heart but you can use more, or less, depending on what size you want the heart to be.
Once you have the paper taped together, fold it in half and cut out a half heart shape so that when you open it you have one HUGE heart.
Then let your kid(s) have at it with decorating! They can write a big message and add stickers or glitter or “pop-outs” (like we did for the cards in Valentine #4 on the list).
LOVE NOTES
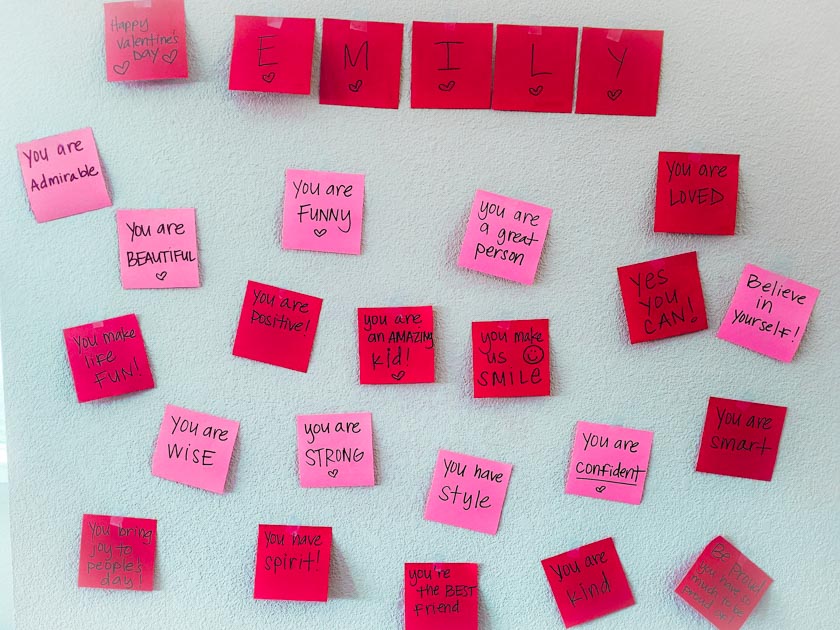
We practice a lot of mindfulness and daily positive affirmations in our house and I wanted to share one last, extra special valentine idea for you to give TO your kids or students (instead of one they make for others). I don’t remember where I saw this but I loved it and I’ve been doing it for as long as my daughter has been able to read. It’s something I will continue to do every year until… well maybe forever!
I use Post-Its but you can also cut out a bunch of colorful paper hearts (like we did in valentine #1 on the list).
Next, write something positive about your child on each Post-It or heart. This could be a reason you love them, something they’re good at, something about their personality, a compliment, etc…
Then, find somewhere (or multiple places) to hang them that your kid will see on Valentine’s Day. The outside of their bedroom door, the bathroom mirror, their school desk (if you are doing this in a classroom), if they are a teenager with a car, put them in their car! I put mine up on the wall in our dining room next to my daughter’s seat at the table so she can read them while she has breakfast.
She LOVES waking up in the morning and seeing these notes! It’s such a happy way to start the day. It makes her feel loved and good about herself. And that makes me feel good.
In turn she likes to do this for my husband, our pets, and myself too. So, on Valentine’s Day there is always a bit of extra love in our house, as there should be!
I hope one of these easy valentine ideas helps your child make someone’s Valentine’s Day memorable.
And if you liked these ideas, please show us some ❤️ LOVE by following us on social media and sharing this post!
XOXO