Who knew you could turn something you can drink into something you can spread on toast just by shaking it like crazy? Making butter in a jar is basically a built-in science lesson and workout for wiggly kids. It’s one of those activities that’s equal parts silly, satisfying, and seriously tasty.
We make homemade butter throughout the year. I usually keep a carton of heavy cream tucked in the fridge because if there’s ever a day my daughter needs to get some energy out (or just regulate a bit), we grab a jar and make butter (or ice cream in a bag)! It’s a simple way to move, learn, and snack all at once.
We especially love making butter during the holidays, though. We’ll add herbs, honey, or cinnamon sugar for a festive twist. It’s always a hit at parties, and we love gifting little jars of it with a loaf of homemade bread.
🎉 Get $20 Off Outschool Classes!

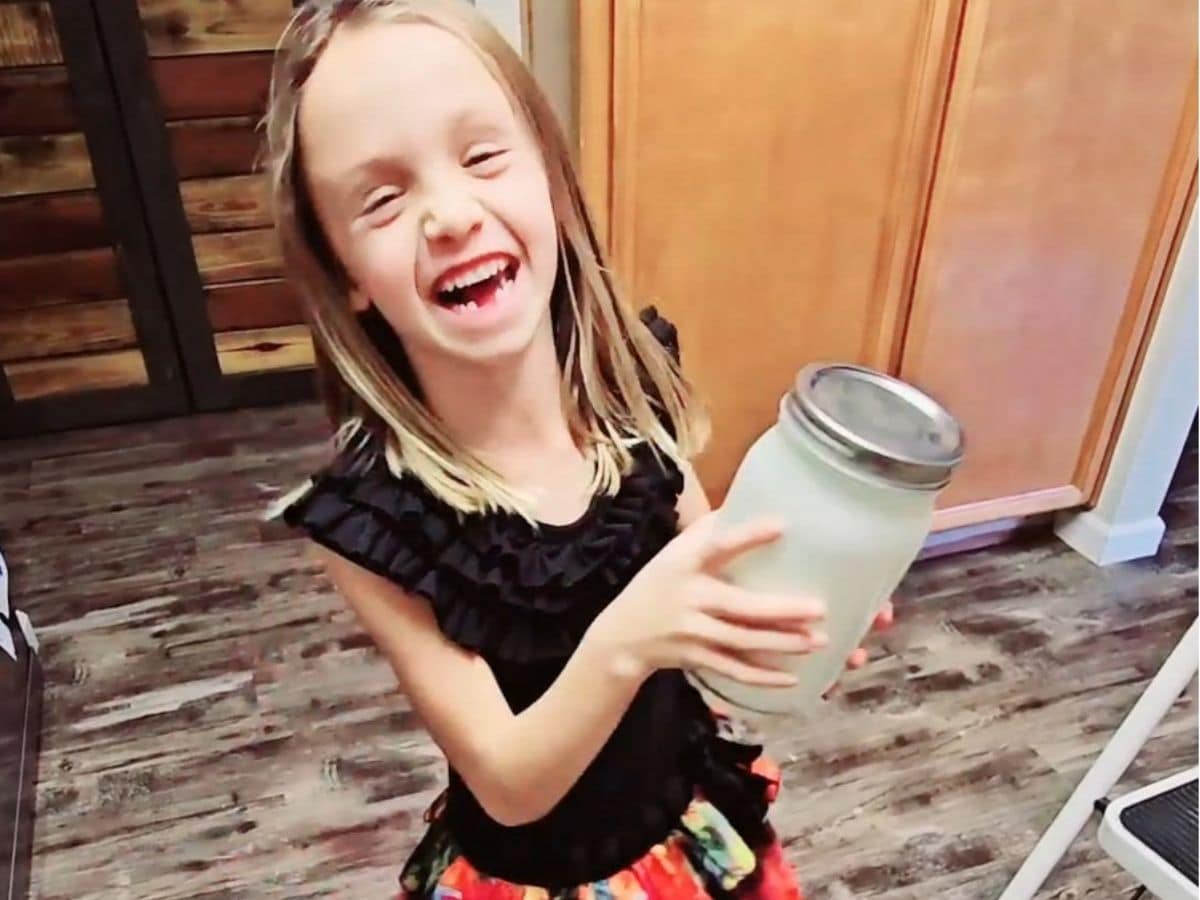
Here’s a look at our butter-making science experiment in action! My daughter takes her shaking duties very seriously and the results are totally worth it.
This post may contain Amazon, or other, affiliate links for products that I personally use and recommend for kids and homeschool learning. This means I will earn a small commission if you purchase through my link, and if you do, we thank you so much! For more information, please read the full Disclaimer and Disclosure.
The Kitchen Science Behind It
One of the joys of homeschooling is the ability to turn a random thing from your to-do list into a school lesson. The first time we made butter it was because we were out and I needed it for a recipe. I could have made a trip to the store, but I happened to have a container of cream in the fridge I needed to use so I thought, hey let’s make some instead.
My daughter’s favorite subject is science, and she also loves butter, so you can imagine her excitement the first time I told her we were going to combine both. She had every reason to be jazzed about it, because making butter isn’t just fun, it’s kitchen science in action.
When you shake the cream, all that movement causes the fat molecules to bump into each other and stick together. At first, the cream thickens into whipped cream, but if you keep shaking, those fat clumps grow until they separate from the liquid. That’s when you’ll see the buttermilk appear, and just like that, butter is born.
If you want to turn this into a mini science lesson too, talk with your kids about:
- States of matter: How the cream changes from liquid to solid.
- Physical vs. chemical changes: Butter-making is a physical change since no new substance is created, just rearranged.
- Cause and effect: What happens if you shake faster or longer?
It’s a super cool way to teach them that science isn’t all lab coats and explosions; sometimes it’s tasty, hands-on, and best served on a slice of warm bread.
What You’ll Need to Make Butter in a Jar
- Heavy whipping cream
- A medium to large clean Mason jar with a tight-fitting lid (16 oz (Pint) or 24 oz (Pint-and-a-half) size jars work best)
- Salt (optional)
- Add-ins like honey, cinnamon sugar, or herbs (optional but highly encouraged!)
- A strainer, cheesecloth, or an awesome mesh strainer bag like these you can get from Amazon
- A bowl, a spoon or spatula, and a fork
- A small container or jar for storing butter
- Parchment paper
- Decorative ribbon or twine, and gift tag or label (if gifting the butter)
Directions
1. Pour it in.
Fill your Mason jar halfway with heavy cream. You need space for the cream to slosh around and transform. If you know you’ll want salted butter, you can add a dash or so of salt in this step too. Or you can wait to add it at the end.
2. Seal and shake!
Screw on the lid tight and start shaking. This part is where the fun (and science!) happens.
Keep shaking for about 10-15 minutes, depending on how vigorously your kiddo shakes. You’ll notice the cream first turns into whipped cream, then suddenly — bam! — you’ll feel (and hear) a solid lump form inside the jar.
3. Separate the buttermilk.
Once the butter forms, you’ll see liquid left in the jar – that’s buttermilk! Over a bowl, pour the jar contents into your strainer or mesh bag to separate the buttermilk from the butter.
You can save the buttermilk to use in other recipes or discard it.
4. Rinse your butter. (This step helps the butter last longer.)
Add the solid butter back to the jar with some cold water. Shake it again. Then carefully pour the water out of the jar (or use your strainer bag).
Repeat until the water runs clear.
Transfer the butter to a clean bowl.
5. Mix in some flavor (optional but highly encouraged).
Use a fork to mash in your favorite add-ins until everything is evenly blended. Here are some tasty ideas we love:
- Sweet: honey or cinnamon sugar
- Savory: a pinch of garlic salt or a bit of fresh grated or diced garlic
- Herb blends: parsley, chives, dill, rosemary, sage, or cilantro (try adding red pepper flakes for a spicy kick)
- Kid-twist: add some of ranch seasoning for a creamy, herby flavor kids love. It’s delicious on potatoes, vegetables, tortillas, crackers, and bread!
6. Shape or store your butter.
After mixing in your flavors, you can either enjoy it right away or give it a little finishing touch.
- To form it: Scoop the butter onto a piece of parchment paper, roll it into a log, and twist the ends of the paper like a candy wrapper. Chill it for about 30 minutes to help it firm up, then slice into rounds when you’re ready to serve.
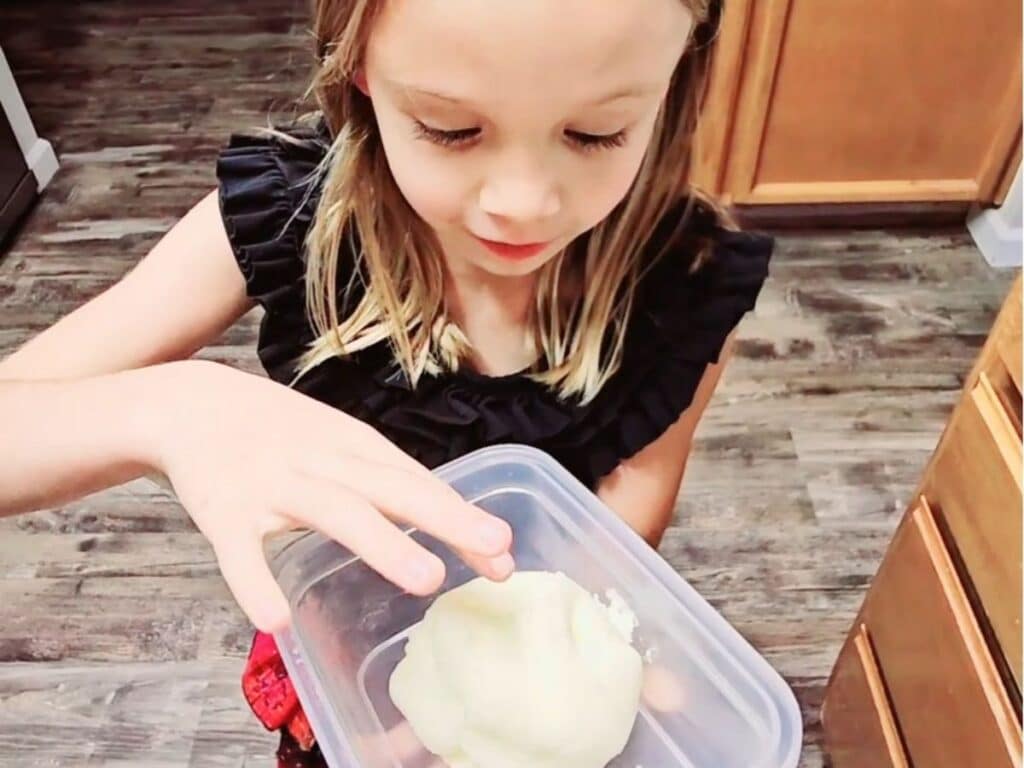
- To store it: Spoon your butter into a small airtight container, like a quarter-pint Mason jar. Keep it in the fridge for up to a week, or freeze it for up to three months.
7. Gift it with a homemade touch.
Homemade butter makes a great, thoughtful gift that people will always enjoy. You can package it a few different ways depending on how you’ve prepared it.
- For formed butter: Keep it wrapped in the parchment paper (per step 6). Add a little label or tag right on the wrapper with the flavor name (like Honey Cinnamon or Garlic Herb). You can even tie a sprig of rosemary or a cinnamon stick on with twine for extra flair.
- For jarred butter: Spoon into small containers or jars, tie ribbon or twine around the lid, and attach a handwritten tag or label.
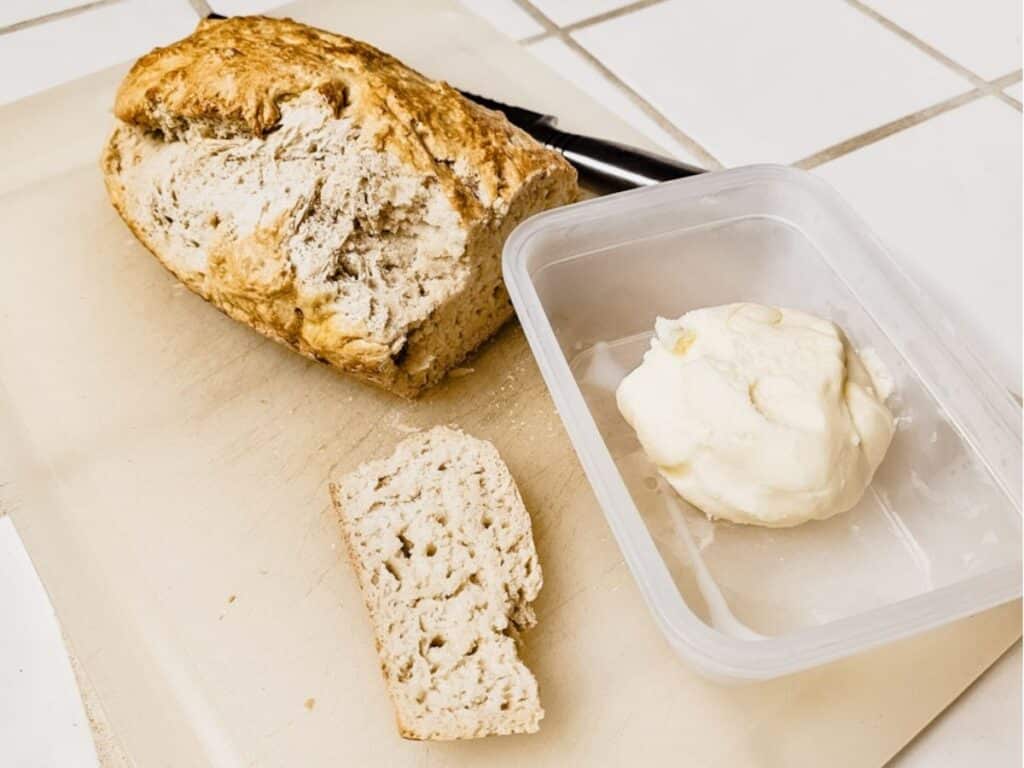
Both options pair perfectly with a small loaf of homemade bread, biscuits, or muffins. It’s a simple, cozy gift that feels homemade in the best way possible.
A Few Tips
- Take turns shaking if your kids get tired (it’s a great workout for arms big and small!)
- Use cold cream – it turns to butter faster.
- Make it festive: add your favorite seasonal flavors: rosemary and garlic for Thanksgiving, or maple cinnamon for that Christmas morning French toast!
Why You’ll Make Butter Year After Year
Every time we make butter, it feels like a little celebration. There’s laughter, movement, and the joy of watching something simple turn into something special. It’s a little messy, sensory, and satisfying, which is exactly the kind of hands-on learning kids remember.
And once you taste fresh, homemade butter (especially with your favorite herbs or honey stirred in), you’ll understand why this tradition keeps coming back year after year, it’s just too good not to.
If your kiddo loved shaking up butter, they’ll get a kick out of another one of our favorite Mason jar kitchen activities too. Try these easy mini desserts in a jar. Making them checks so many boxes for us: sensory play, kid-friendly cooking, easy prep, and a sweet little treat you can share or gift!