Just when I think our fun school activities can’t get any more fun…they DO! Over the summer I planned an ocean theme week which was extra exciting because Emily had a friend to participate with her! The girls had a great time doing multiple ocean related crafts, counting together, singing (a lot of) Baby Shark, and even “fishing”. We read a few enjoyable books too! Here’s a list of the 10 great preschool ocean theme activities and games we did at Fun School. And you can do them at home too!
This post may contain Amazon, or other, affiliate links for products that I personally use and recommend for kids and homeschool learning. This means I will earn a small commission if you purchase through my link, and if you do, we thank you so much! For more information, please read the full Disclaimer and Disclosure.
Ocean Theme Activities and Games List:
Click on any activity name below to go directly to the activity. Or just keep reading to see them all!
🎉 Get $20 Off Outschool Classes!

- Ocean Life Movement Cards
- Octopus Bead Color Sorting
- Ocean Count and Clip Cards
- Baby Shark Song (with shark puppets)
- What lives in each layer of the ocean? – Craft
- Seashell Sensory Play(doh)
- Feed the Hungry Shark Game- Motor Skill Activity
- Handprint Crab Art
- “Let’s go Fishing” Game – Motor Skill Activity
- The Rainbow Fish – Paper Plate Craft
- Fish Bubbles (or “O” is for Ocean) – Pool Noodle Paint Stamps
- Ocean Theme Preschool Books
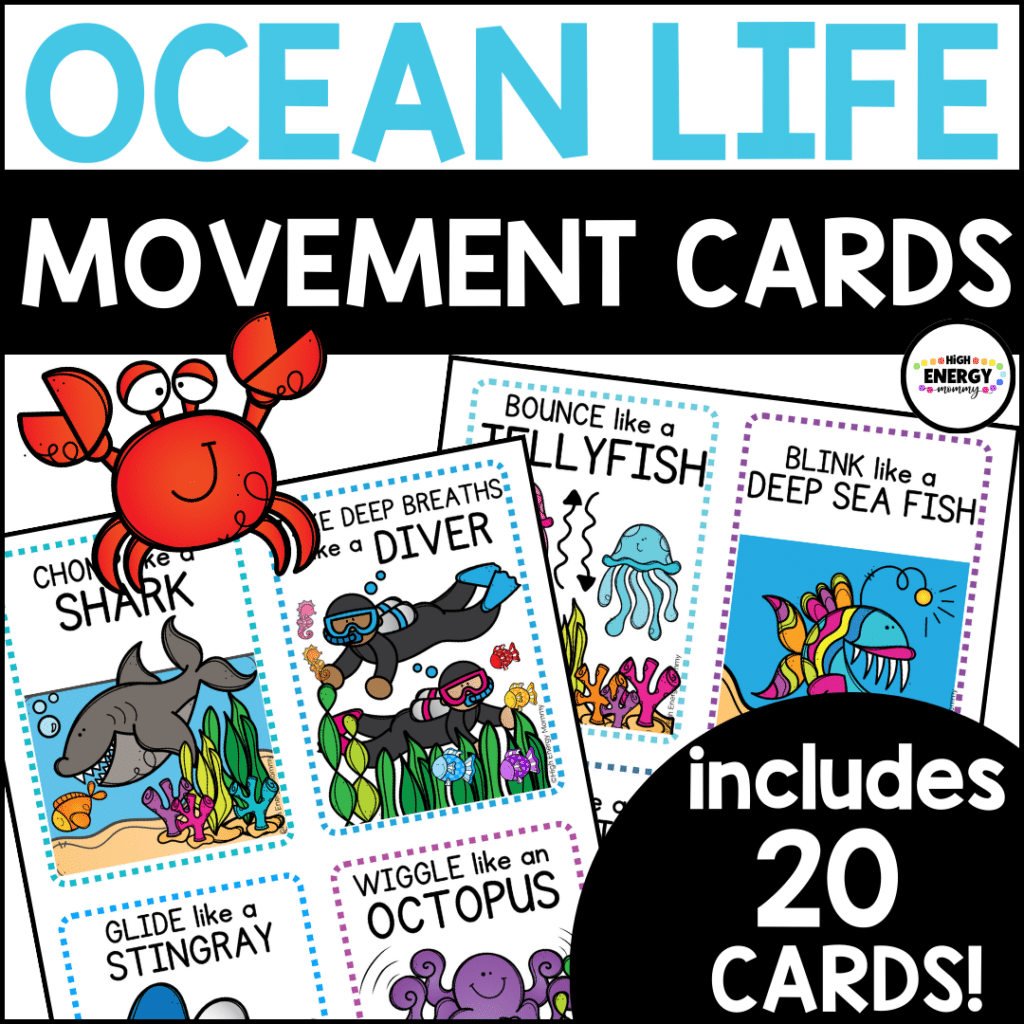
1. Ocean Life Movement Cards
We always get our day started with some movement activities to help regulate our bodies and movement cards are always a fun way to do just that! We moved like bugs with our Busy Bugs Movement Cards and like farm animals with our On The Farm Movement Cards, but when we had our ocean theme I didn’t have any fun cards to use. So I created these NEW Ocean Life Movement Cards to include with your ocean theme!
They will have your little ones doing moves like the crab walk, twirling like a dolphin, gliding like a sting ray, and jumping like killer whales (plus 16 other moves)! Use these cards to get the wiggles out ANY time!
Grab a set of these cards from my TpT store!
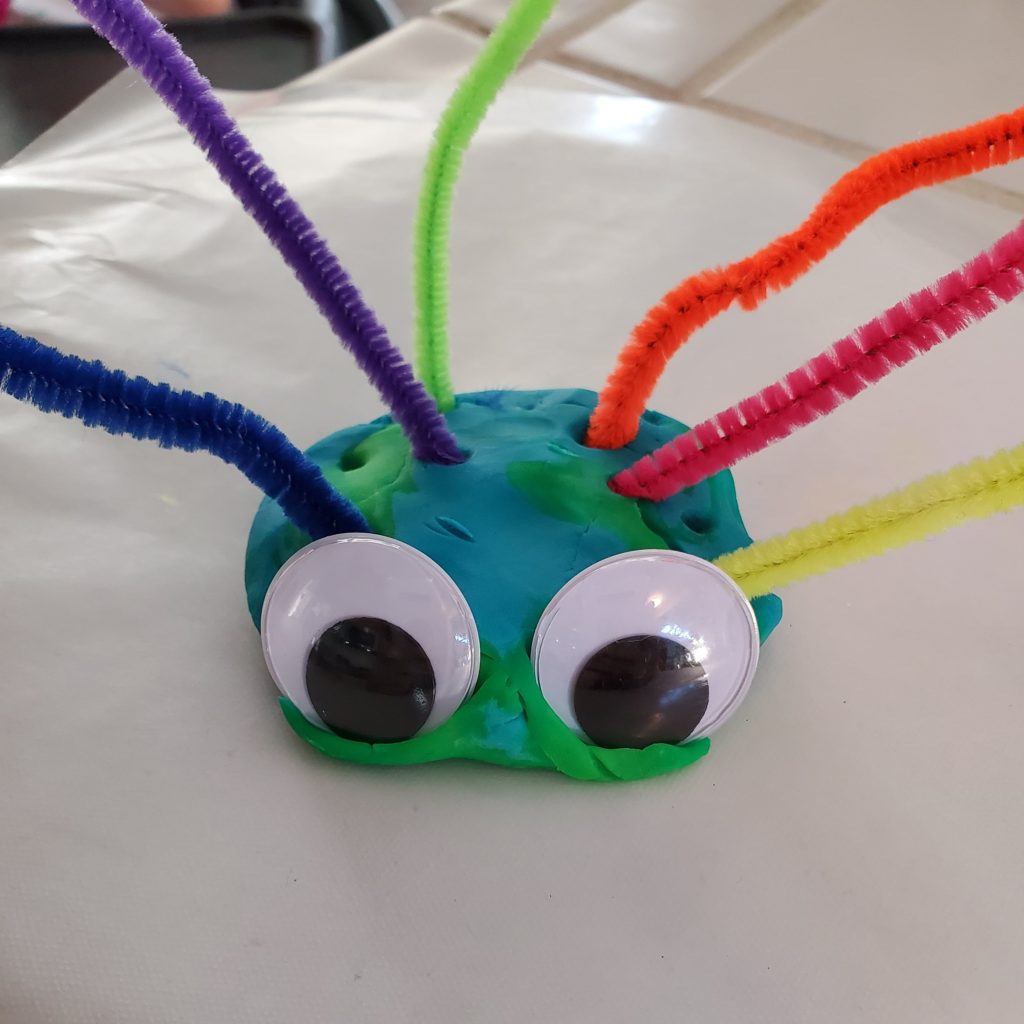
2. Octopus Bead Color Sorting
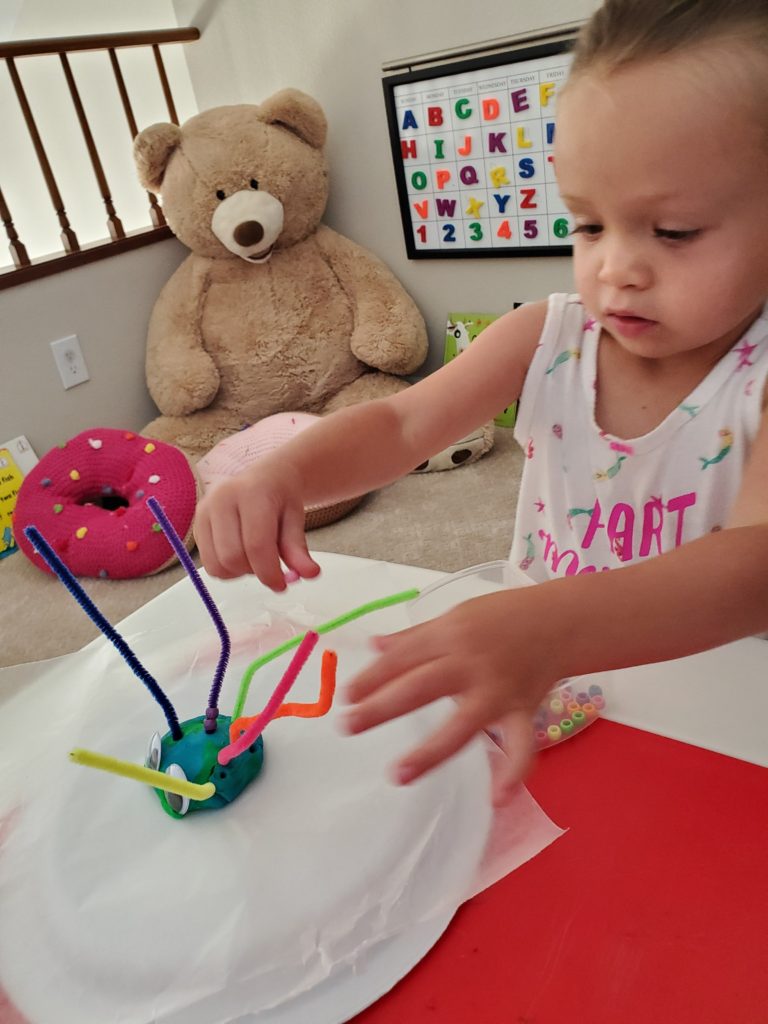
I got this idea from an ocean theme activities board on Pinterest and I know this guy looks more like a spider than an octopus but he’s still adorable and served it’s purpose! Ha. Emily is really great with her colors so this was just a fun motor activity for hand-eye coordination and to familiarize herself with colors even more.
HOW TO do the Octopus Bead Color Sorting Activity:
I took some Play Doh, rolled it into a ball, smashed it down a little bit onto a paper plate (just to get it to stick so it didn’t roll away), and added a couple of googly eyes to one side. Next, I took six pipe cleaners in different colors, cut them down to about 6 inches long, and stuck them into the ball of Play Doh to make “tentacles”. Last, I sorted out some colored beads to match each of the pipe cleaners then had Emily feed each bead down it’s matching “tentacle”.
2. Ocean Count and Clip Cards
Emily is getting pretty good at counting items and even though she doesn’t recognize written numbers yet, this activity is great practice. She really liked it because of the clothes pins and clipping them onto the cards so this activity is also good for motor skills too! You can download your own set of these Ocean Count and Clip Cards from my TpT store for FREE, just click on the image or link below!

I recommend printing the cards on cardstock and laminating them, then cut them out. Little hands pinching these with clothespins tends to wear them out, so laminating them really helped us! These self-adhesive laminating pouches are AWESOME if you don’t have or want a laminating machine. Although I always said I’d never really need a laminating machine… and then I ended up with this great (and inexpensive) laminator. If you will only be using these cards with one or two kids, a heavy cardstock paper works fine.
3. Baby Shark Song (with Shark Puppets)
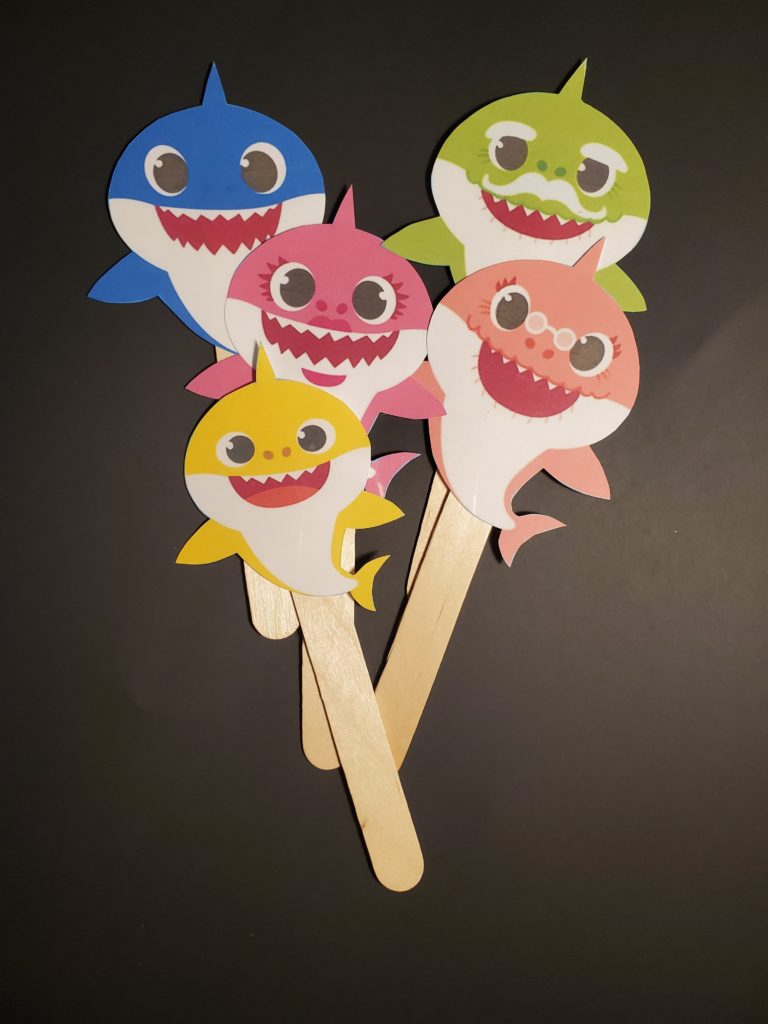
Fortunately Emily fell off the Baby Shark wagon a while ago but of course I had to bring it back for our ocean theme week. If you have little ones at home I’m sure you are also a tad too familiar with this catchy song. If you have no idea what Baby Shark is, check it out… and then try to make it through the rest of the day without singing a little “doo doo, doo doo doo doo”.
I had a feeling we were going to hear the song on repeat all week so in addition to doing the dance that goes with it, I also made some silly little shark “puppets” using online images and Popsicle sticks.
(Note: I’m unable to share the images I used as I don’t own them, sorry! You can find plenty through Google images). It was fun for the girls to pick up each shark character as it came into the song and make it “swim” (and since the song moves fast it was good for them to have to focus on what was coming up next).
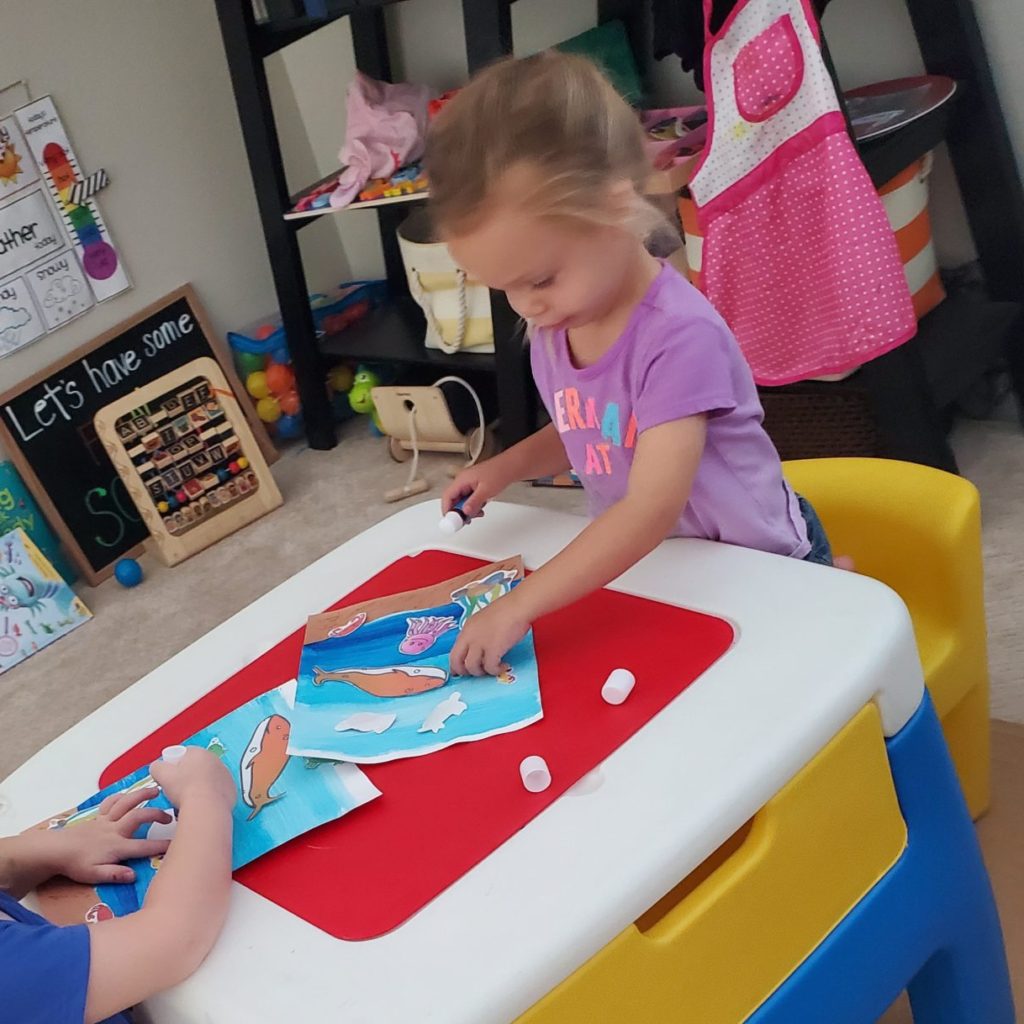
4. What lives in each layer of the Ocean?
This idea I also saw on Pinterest and the details of it would be great for older preschool age kids. I wanted to use it to practice gluing skills but the girls did pretty well putting the ocean life in some of the right layers too. I had hung up a colorful ocean chart that showed the different ocean layers and life in each one, and they enjoyed looking at it and pointing to different creatures.
HOW TO do the Ocean Layers Activity:
I did all of the prep work but older kids would have fun doing it themselves. I used a sheet of thick card stock paper and glued a piece of brown construction paper to the bottom for sand (I added a little glitter glue too so it sparkled). Then I painted 4 layers in different shades of blue paint. Last, I printed and cut out some of the ocean life clip art I purchased from Educlips.
When we were ready to do this activity, I gave each girl one of the ocean layer pages, a stack of clip art, and a glue stick and let them do their thing.
5. Seashell Sensory Play(Doh)
This one kept the kids busy for a while. I gave each of them a jar of Play-Doh, a handful of seashells, some starfish and small sea life toys, and a magnifying glass. Emily received an outdoor exploration kit for Christmas last year and she likes using the magnifying glass to look at stuff; not necessarily the way you’re supposed to do it, but as long as she doesn’t start any fires we’re good. I helped them look at the shells and star fish through the magnifying glass which they thought was pretty neat. Then they spent a lot of time playing with the items in the Play-Doh making impressions with the textured side of the shells and filling them up with the dough. I actually meant to give them Kinetic Sand to play with too but they were content with the Play-Doh.
PS-we do a lot of sensory activities with Play-Doh and this pack from Amazon with 24 different colors is what I use. I prefer the actual brand-name Play-Doh because it’s softer to work with and doesn’t dry out as fast as the dollar store stuff does (although I still use that for other crafts). I also like how Play-Doh smells. Weird I know.
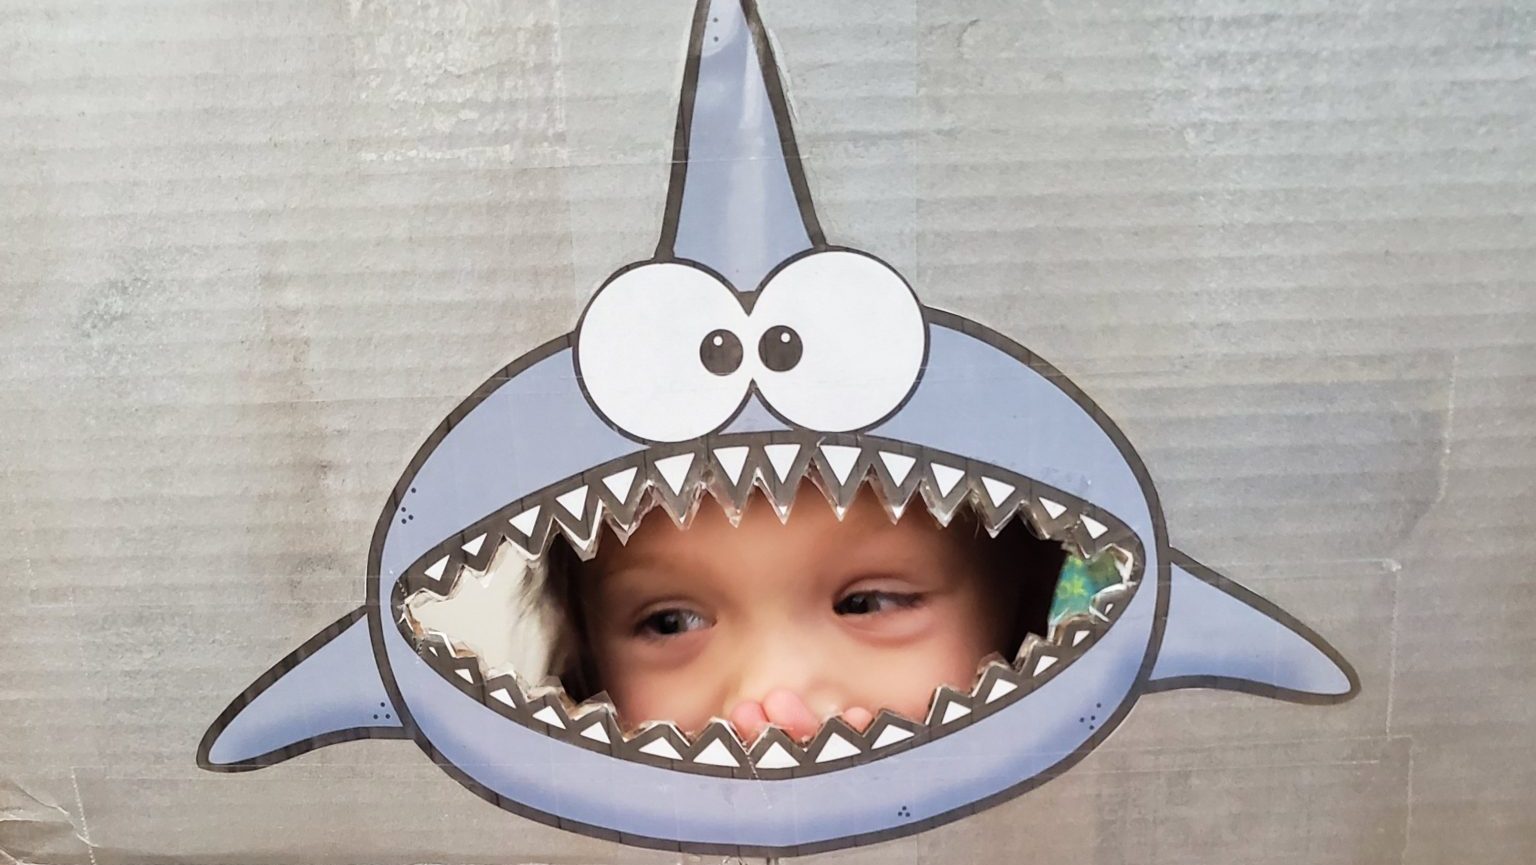
6. Feed the Hungry Shark Game (AAHHHHH!)

OK so when you decide to do ocean theme at home or in your preschool you NEED this game! The kids LOVED it. It’s a super hands-on, engaging way to practice early math and literacy skills, and work on fine motor coordination. And I have a full printable version available in my Teachers Pay Teachers (TpT) store that you can access here >> Feed the Shark Color and Size Sorting Game from High Energy Mommy on TpT.
Read more about how I set up the Feed the Shark Math, Literacy, and Fine Motor Skill Game.
Emily still wants to “feed the shark” even though we are weeks beyond our ocean theme. So I ended up keeping it assembled for when she needs something to get her energy out. I’m also using it for some future Fun School lesson plans.
7. Handprint Crab Art
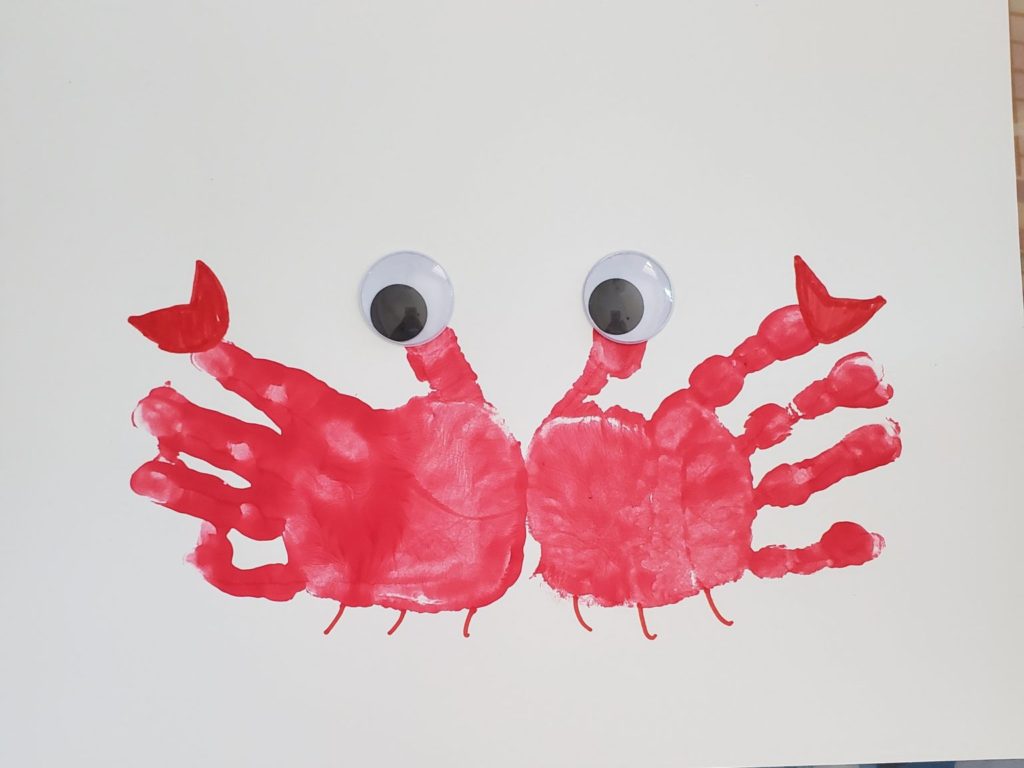
This was another cute idea I found on an ocean theme activities and crafts board on Pinterest. It was really easy and quick to do. The supplies you’ll need are:
- Paper plate
- RED washable kid’s paint (Crayola makes these great packs of washable paint)
- Plain white paper (I used cardstock so it could withstand the amount of paint my kid likes to use)
- Two googly eyes
- School Glue or a glue stick
- Washable markers (in red for the legs and claws, and in brown/tan, blue and green if you want to add some background ocean features)
HOW TO make Handprint Crabs:
Pour some red paint onto a paper plate. Lay the piece of paper out in front of your child lengthwise (portrait layout). Then, one hand at a time, have them slather their palm with red paint from the paper plate and make a hand print on the paper (with their fingers spread as wide as they can). Turn the paper around so the first handprint is now on the bottom. Repeat the handprint with the opposite hand but this time place the palm of that hand close to the palm of the first handprint on the paper, so that both palms are touching. Note: turning the paper to do each handprint is easier than trying to turn a squirmy toddler’s hand. Ask me how I know. 🙂
Let the paint dry, then let your child glue a googly eye onto the top of each thumb in the handprint. Next, using your best artistic skills (which are hopefully much better than mine), draw a little crescent shape at the tip of each pointer finger (to make the crab claws) and then draw a few little legs at the bottom. If you’re doing this with older kids, have them draw the claws and legs and add some sand, seaweed, bubbles, etc… to the background.
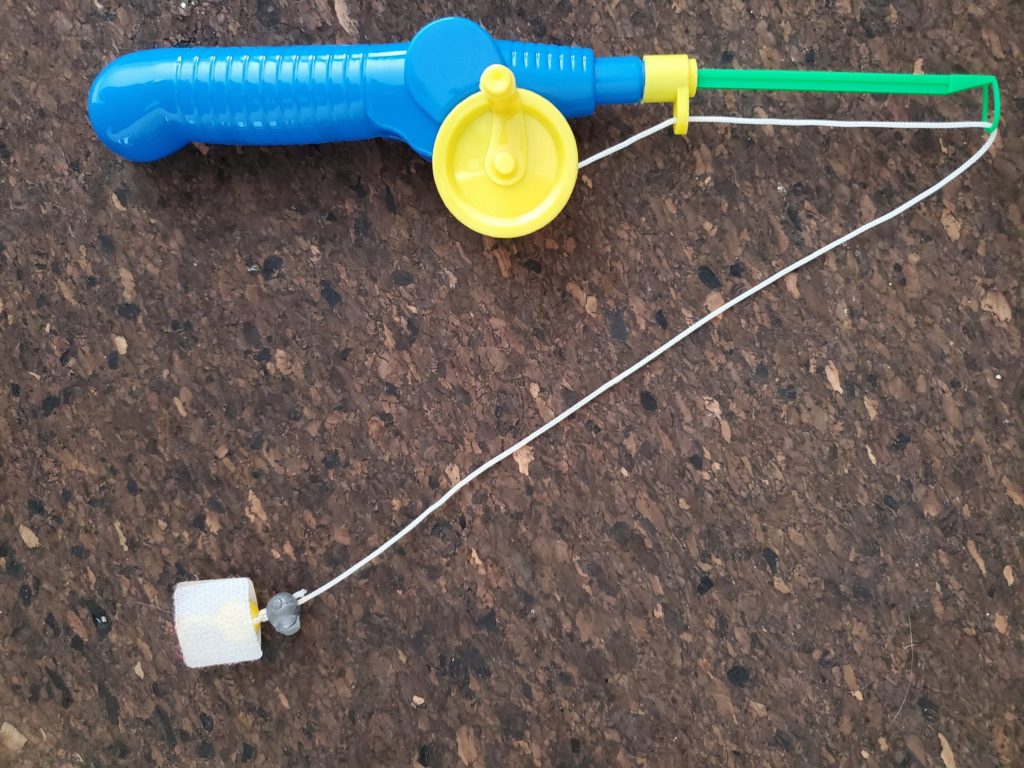
8. “Let’s Go Fishing” Game
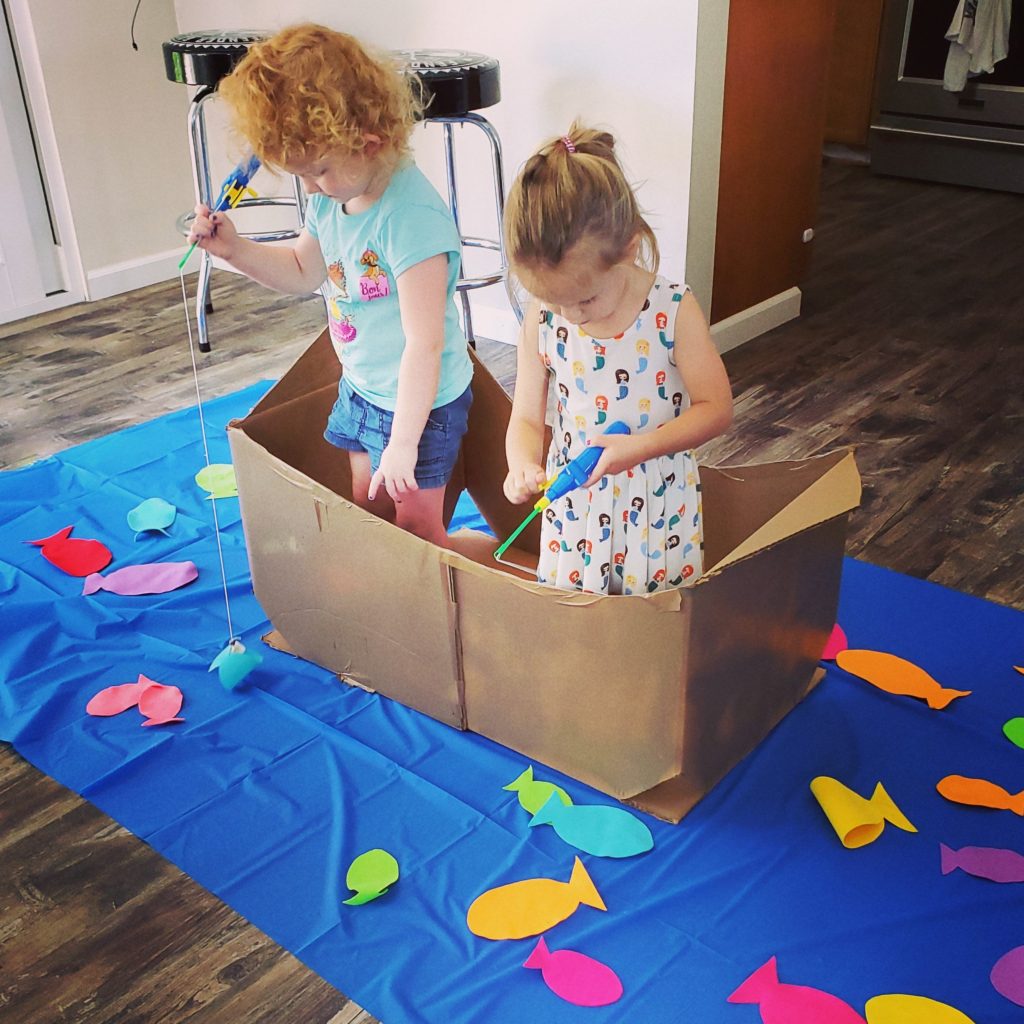
The girls had as much fun with this activity as they did with our Feed the Shark game! It’s another active and engaging way to practice color sorting and fine motor skills. There’s a little bit of prep work to set up this activity but it’s not difficult, and it’s totally worth it! Also, I happened to have some random boxes sitting in the garage so I made a boat, but kids will still love playing it even without a boat.
How To Set Up the “Let’s Go Fishing” Game:
Make the Fish
I purchased a pack of lightweight felt like this (from Amazon) and used a template to cut out a bunch of fish in 3 sizes and multiple colors. You can find a fish template online, however I also include my fish template (in 3 sizes) in the printable Feed the Shark Colors and Sorting game that’s available on TpT. So if you purchase and download the shark game (thank you), you will have the template for making these felt fish too!
Make A Fishing Pole-
I picked up a toy fishing pole set from the dollar store but it was flimsy and kept falling apart, so if you are looking for a good quality toy to use for this activity, buy something similar to this one from Amazon (that can also be used in the bath too). I used the toy pole because I wanted the girls to be able to actually reel in the fish.
I used adhesive Velcro and stuck two rough side pieces of it to the sides of the fish hook (so the hook was sandwiched in between the Velcro). You may need to use larger Velcro pieces depending on hook size.
To finish, I added one of these small, round, split removable fishing weights (I found in hubby’s tackle box). I attached it just above the hook to help give some weight to the pole when picking up the felt fish.
If you aren’t looking to buy a toy fishing pole, here’s easy way to make one using empty paper towel rolls, Duct tape and string:
Step 1: Take two empty paper towel rolls and (using strong tape like Duct tape) tape the ends together (so you have one long tube).
Step 2: Next, insert a long piece of string through the tube leaving about 10 – 12 inches hanging out one end. Secure the string inside the tube using more tape (or hot glue).
Step 3: At the bottom of the long, free end of the string, attach two rough-side adhesive Velco rounds, sandwiching the string in between the Velcro.
Step 4: Then clip on one of the small round, split removable fishing weights just above the Velcro. BAM! DIY fishing pole!
Water for the Fish
I used a blue plastic table cloth from the dollar store. If you have a plastic swimming pool, that works too. And, to add some extra fun you can also use the tablecloth or pool for the Feed the Shark Game!
Make A Boat (totally optional)
I used a big cardboard box, as you can obviously see from the photos, because it still looks just like that: a cardboard box! Haha. I can’t even explain how I made my “boat” because at the time I didn’t have one large box so I had to use two smaller boxes. And they weren’t even the same size so after a LOT of tape, a few curse words, and some old brown spray paint… our Fun School boat was born (and we’re keeping it)!
You know what though? I could have just cut the flaps off a big cardboard box and called it a boat and the girls would have been good with it. So no need to get fancy unless you want to. Kids have the best imagination…whatever you give them as their boat, will be their boat. Or their super charged speed boat. Or their Pirate Ship (stay tuned for that upcoming post…or better yet, get on my email list and you’ll be the first to know all about our Fun School Pirate Theme?).
Time to Play “Let’s go Fishing”
Lay the table cloth out on the ground, put the boat in the center of the table cloth, then lay the felt fish on the ground all around the boat.
Have your kids get in the boat with their fishing pole and start catching fish! They’ll quickly figure out it works. I had the girls fish for different sized fish and for different colors. Then for different counts of fish.
We also practiced throwing the fish back and counting the ones we kept in the boat. When Emily gets better with her letter and number recognition this will be fun as I can add numbers and letters to the fish.
9. Rainbow Fish (paper plate craft)
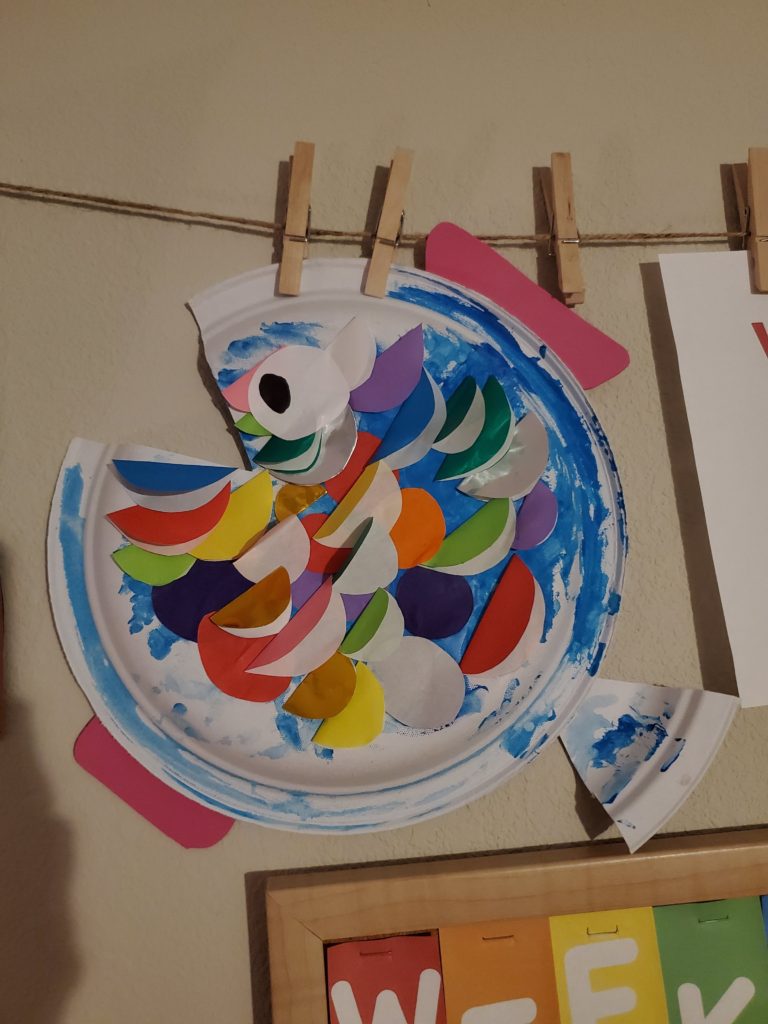
One of the books we read during our ocean theme week was The Rainbow Fish by Marcus Pfister. So we did a craft to go along with it. I also found this idea on Pinterest from another ocean theme activities board and it comes from the crafty website Easy Peasy and Fun. Our fish didn’t turn out looking as clean as the one in her example but they did come out very colorful and I did add in some shiny pieces for some Rainbow Fish bling.
This Rainbow Fish craft was easy but I used a large dinner size plate for our fish body and the girls didn’t have the attention span to glue on as many scales as it was going to take to cover the entire paper plate. I would recommend using a smaller plate for young kids. I ended up gluing on most of the scales while Emily sat and glued her hands together. Check out the post One Genius Way to keep your two year old busy and you’ll understand why I’m ok with glue hands.
HOW TO make a Rainbow Fish: get the full instructions for this ocean theme craft project by visiting Paper Plate Fish Craft – Rainbow Paper Circles.
10. Fish Bubbles (or “O” is for Ocean) – Pool Noodle Paint Stamping

This craft is pretty self-explanatory and is great for working on circles or the letter “O”. It’s also super helpful to keep the pool noodle pieces for anytime your kid needs something to do! For this activity, all you need is a couple of pool noodles (get them from your local dollar store or buy a pack like these from Amazon for super cheap). Cut one into 3-4 inch pieces (big enough for little hands to get a good grip on). Next, pour some washable kid’s paint (Crayola makes these great packs of washable paint) on a paper plate or piece of cardboard, then let your kid dip the pool noodle pieces in the paint and stamp them all over paper.
For our ocean theme week specifically, I printed a black and white clip art image of a fish at the bottom of an 8.5 x 11 size piece of paper. I gave them to the girls to make “bubbles” on the page for the fish but this would also be perfect for an “O” is for OCEAN craft.
11. Ocean Theme Preschool Books
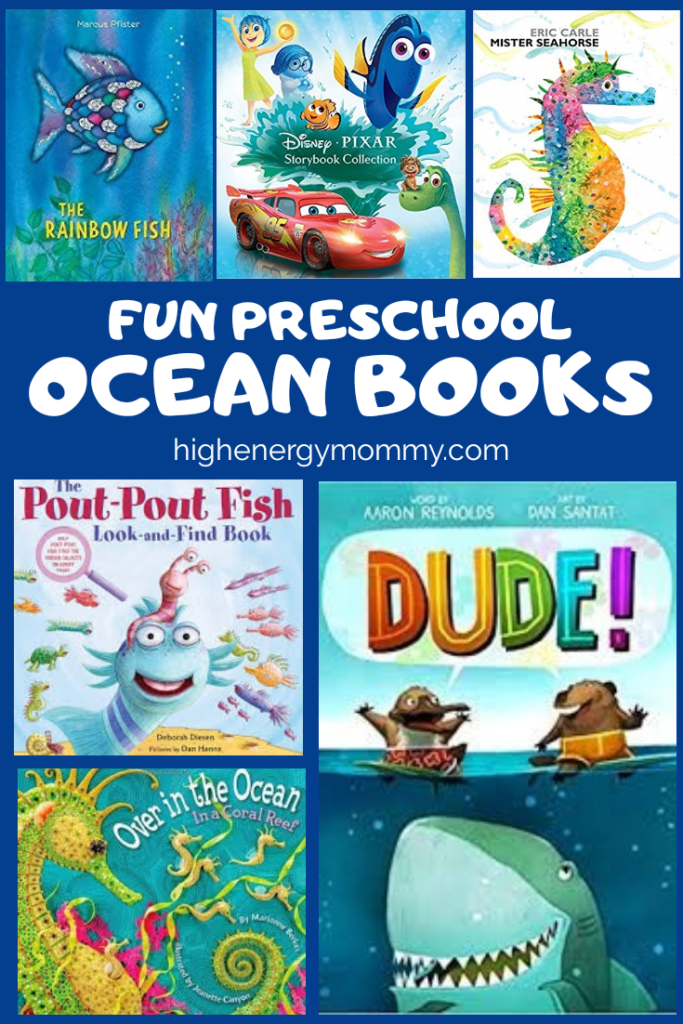
We LOVE books!! Here’s a list of a few books we read during our ocean theme week. Most of these books I checked out from our local library but we also own a couple of them.
- The Rainbow Fish by Marcus Pfister – this is a cute book about a fish with it’s own “sparkle”, who teaches the meaning of sharing.
- Over In The Ocean : In A Coral Reef by Marianne Berkes – a book that teaches counting with very pretty, detailed, 3D photos of ocean life. The book’s pictures were designed using clay and other crafty materials to make the images really come to life
- Disney’s Finding Nemo (and other Pixar stories from THIS BOOK)- I love this story (and the movie) and think it’s a great choice for an ocean theme! It introduces many ocean creatures and teaches the great meaning of listening to your parents! 🙂 Emily got this book for Christmas a couple of years ago and still completely loves it. We read the stories constantly even though she has them all memorized. Makes an awesome gift idea too!
- The Pout-Pout Fish Look and Find Book by Deborah Diesen– I chose this book because the Pout-Pout Fish book wasn’t available at the library and I knew this one would keep the girls entertained for a little while. This book follows the Pout-Pout Fish throughout his day and asks for help in finding him, his friends and many hidden objects along the way.
- Dude! by Aaron Reynolds – Emily loved this book too and we read it every night at bedtime for about three weeks! The artwork is adorable and it’s a very easy read because the only word in the book is “Dude!”. The word “Dude” is used in many different contexts that make this book a fun read because it allows the reader to get into character with it. Each person that reads it aloud will bring their own spin to it and kids will love it. They will also love acting out each scene too.
- Mister Seahorse by Eric Carle– I really love all of Eric Carle’s work. His illustrations are unique and colorful and kids are drawn to them and this book is definitely full of color! This book follows a seahorse daddy who is carrying his baby seahorse eggs, and talks about “male mothers” in the ocean who also carry their eggs in different ways. I think the story itself is better for older preschool kids because Emily didn’t quite grasp what was really going on but she liked looking at the pictures. And thankfully she didn’t ask me how any of the eggs got “there”. ?