Our weather has been all over the place so I thought it was the perfect time for some weather theme activities! We went from a ton of rain, to warm spring weather, back to cold rain and wind, then all of a sudden it was HOT and summertime…in April. And I’m not ready for the heat yet. I really need some time to work up to it.
However, the crazy weather was perfect for a weather theme and the wind gave me an idea to make a homemade kite… that actually flew (way to go Mommy DIY)! Here’s all the weather activities we did this week (including the instructions for how to make the awesome mom kite!)
This post may contain Amazon, or other, affiliate links for products that I personally use and recommend for kids and homeschool learning. This means I will earn a small commission if you purchase through my link, and if you do, we thank you so much! For more information, please read the full Disclaimer and Disclosure.
Shaving Cream Clouds Sensory Bin
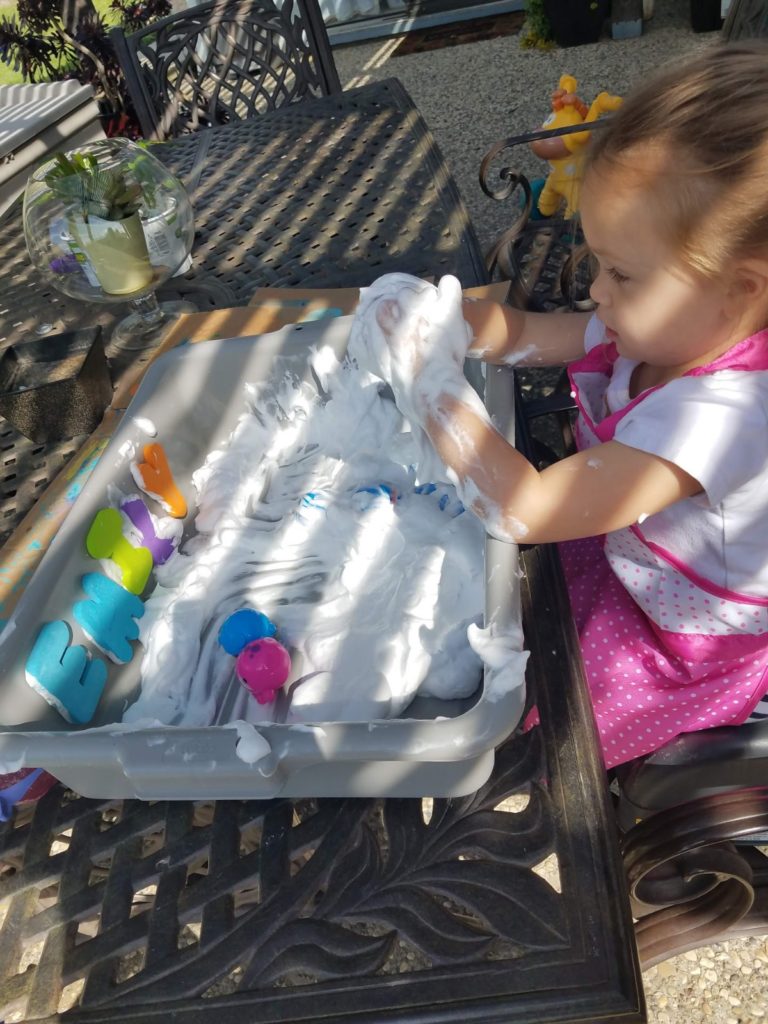
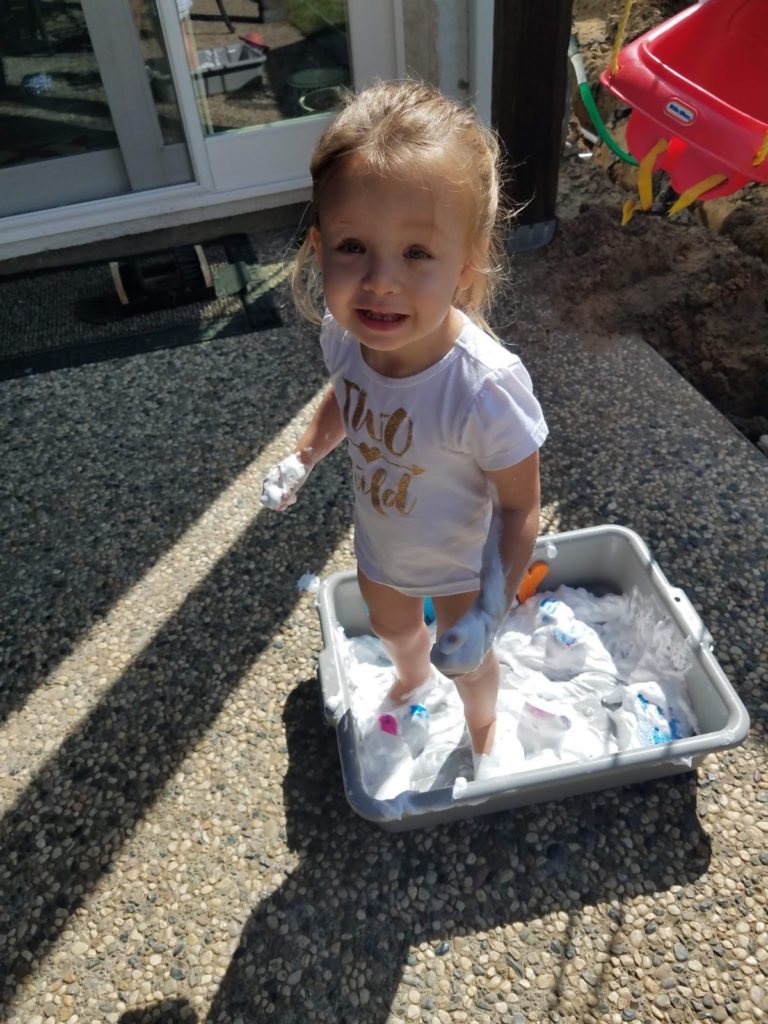
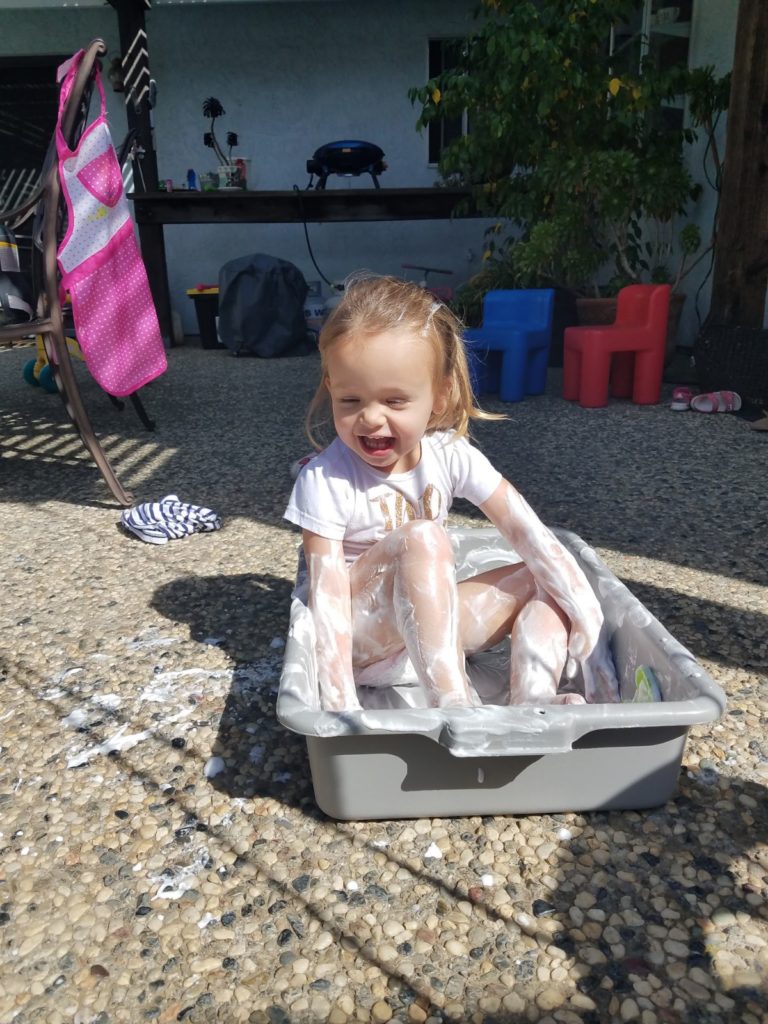
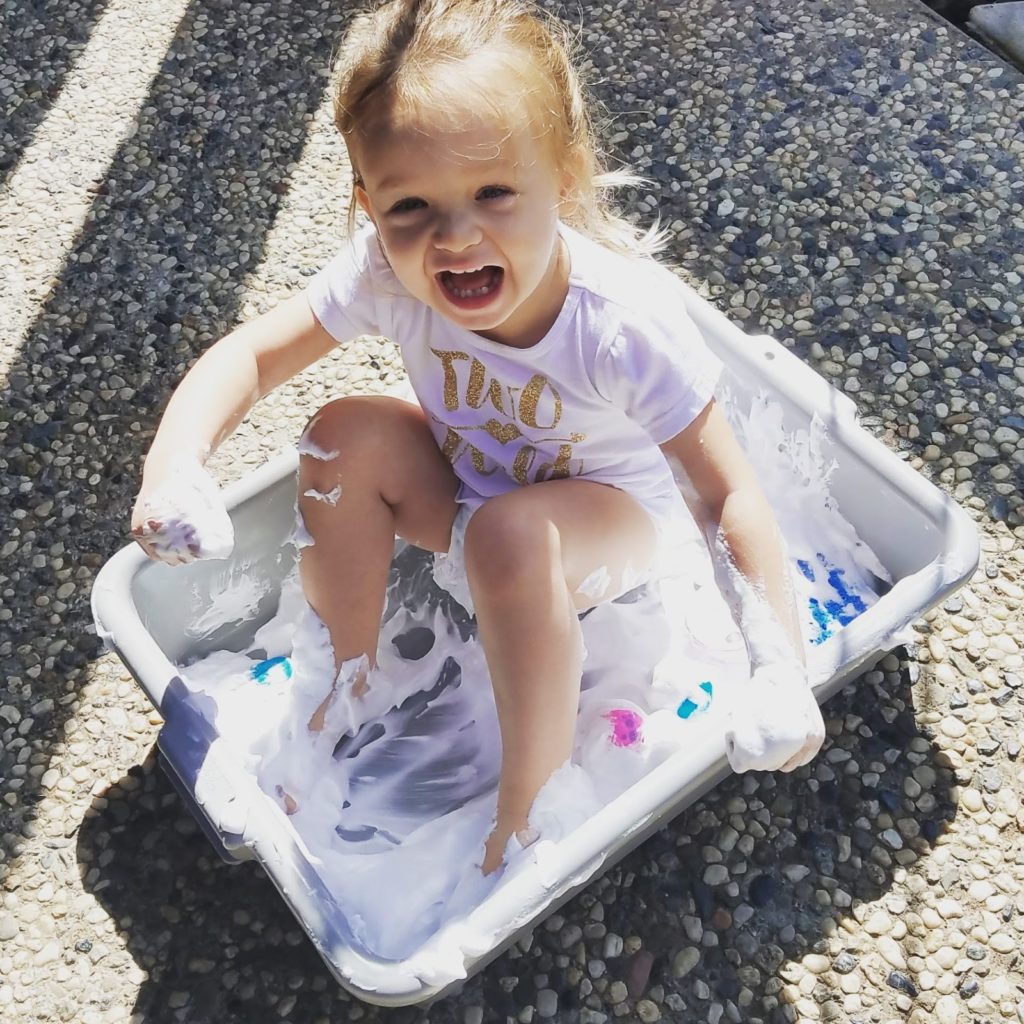
This was SO much fun for Emily (and her feet-on learning). I came across a few ideas on Pinterest to do a rain and clouds experiment using shaving cream and a sponge. I knew this activity was going to end up being a total mess so I made sure to set it up outside.
We started out by making some “clouds” with the shaving cream and playing with those (PS don’t underestimate how much shaving cream there is in a can, OMG it’s A LOT!) . Then we absorbed some water in a kitchen sponge and squeezed it out to make “rain”. And then the real fun started (once the water and shave cream mixed). Emily of course wanted to put her feet in it so I moved the bin to the ground and let her have at it. And after that, she took a real bath but we both smelled like a man for the rest of the day. It also took a good week for the shaving cream residue to come off of our patio, so I am really glad we did this outside.
*******
Snowball Sort (Fine Motor Skill Activity)
Emily used plastic tweezers to move cotton ball “snowballs” to and from an ice cube tray. I’ve mentioned these fine motor tools in previous posts; if you’re looking for a set, they have been great for us! Emily took this activity very seriously as you can see by the intense look on her face. LOL.

*******
Raindrop Counting
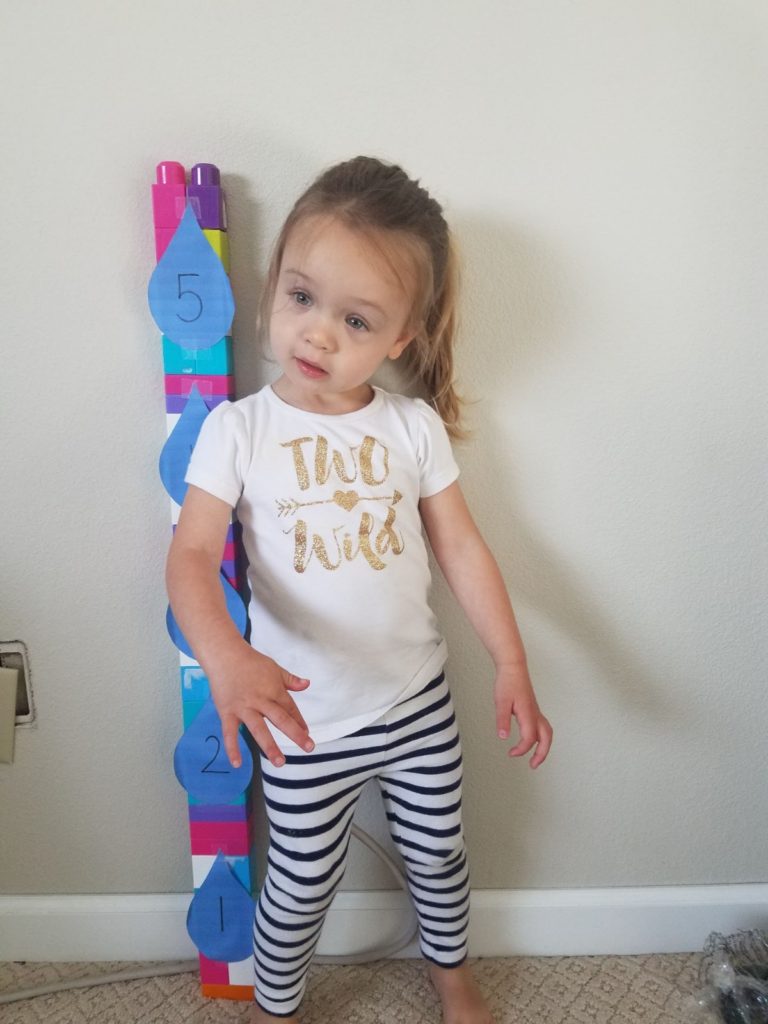
Our number this week was 5, so I made some large paper raindrops with the numbers 1-5, taped them to Lego blocks then had Emily stack them up to count how many raindrops “tall” things were around the house.

*******
Snowball Fight
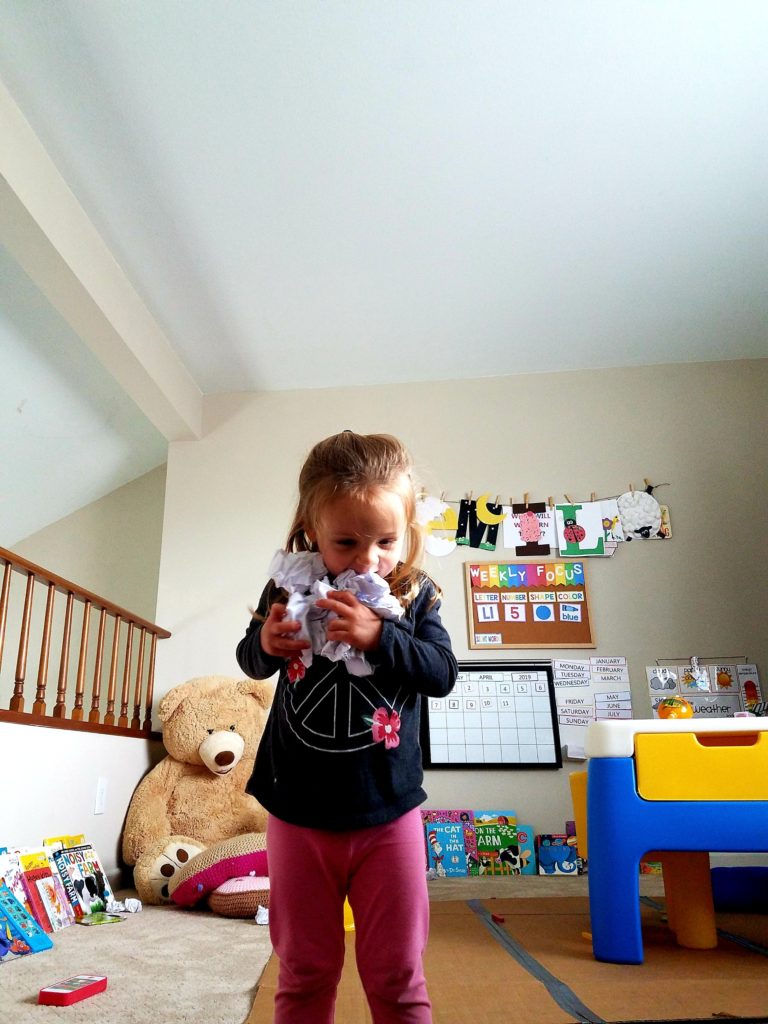
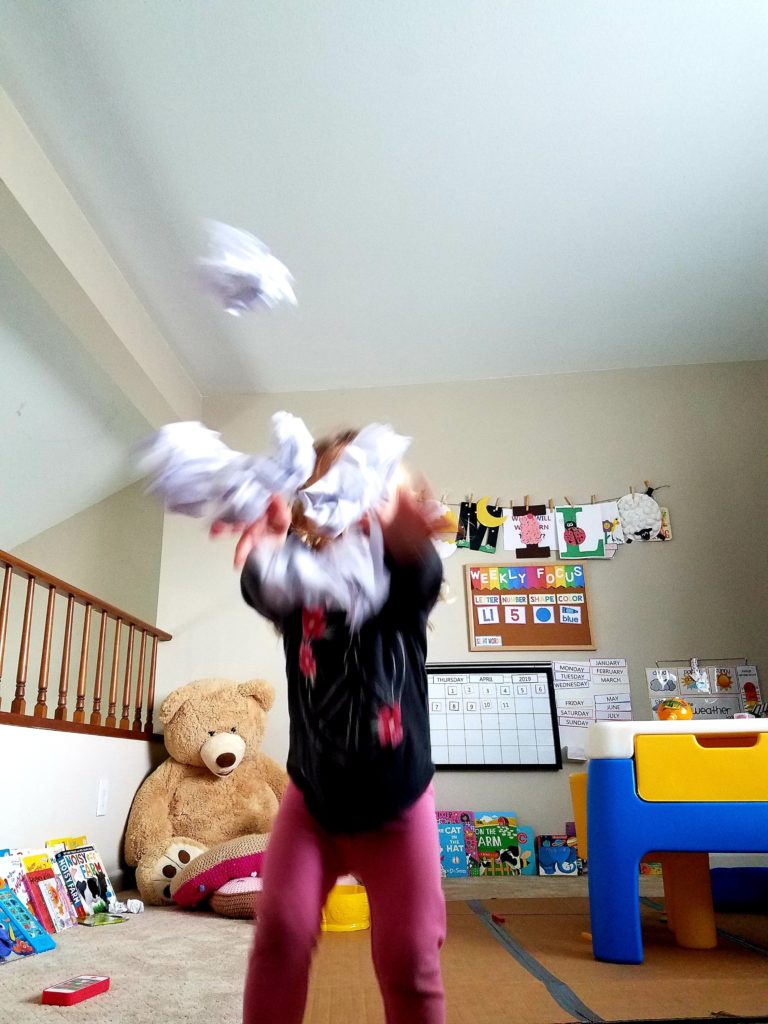
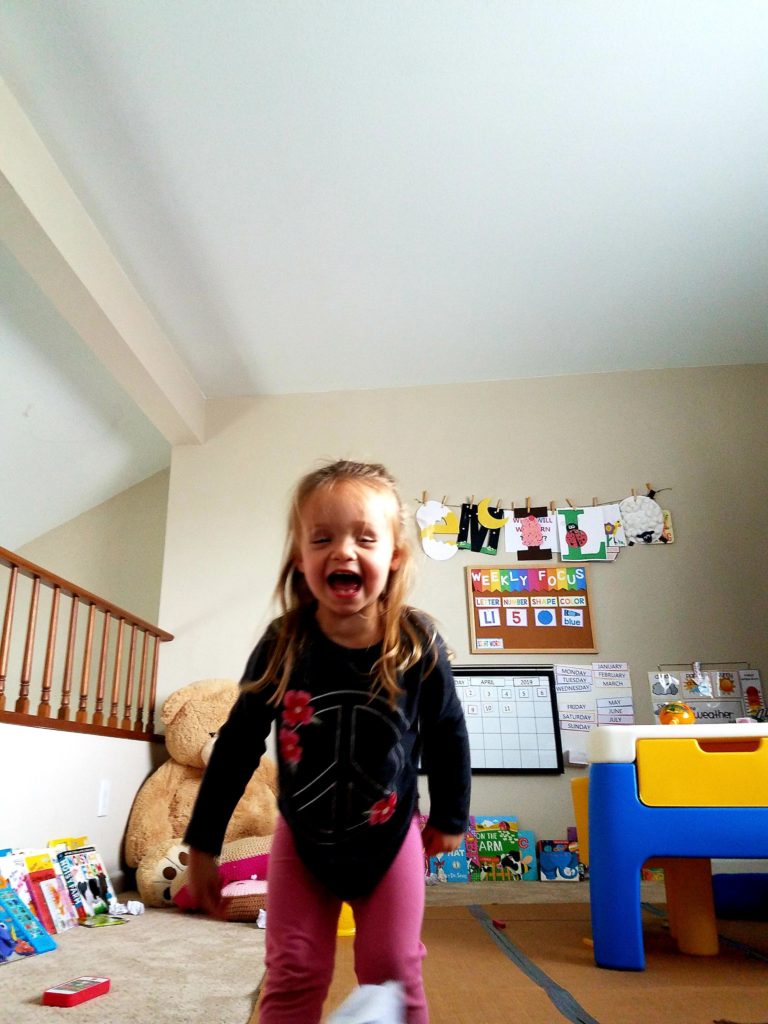
We had a snowball fight with snowballs made from crumpled up scrap paper. It’s really as easy as it sounds: crinkle up some white paper and throw it at each other (and practice throwing it into a basket for some hand-eye coordination work). We actually did this activity a few times during the week. I’m not sure who enjoyed it more (one day I know I couldn’t wait to play this game). I had kept it on my list to do on the day that Emily was most restless and all over the place, but it turned out to be a week of her being that way so this worked great to get some energy out for a few minutes.
*******
Hand and Foot Sun Rays
We traced our hands and Emily’s feet onto construction paper and used them for rays on a (funky) sunshine.

*******
Made a Rainbow using a CD
Emily loves anything rainbow right now and I’ll never forget the first time she saw one reflected on our kitchen floor (randomly) from the sun shining through a bottle of water that was on the counter. Of course I couldn’t re-create it the right way when I was trying to do it for my rainbow activity, so instead I used a CD and let the sun reflect off of that, onto the ground. It didn’t have all of the pretty colors of the water rainbow, but it had the right shape and Emily got to “put her feet in it”, so she was happy.


*******
Rainbow Finger (and foot) Painting
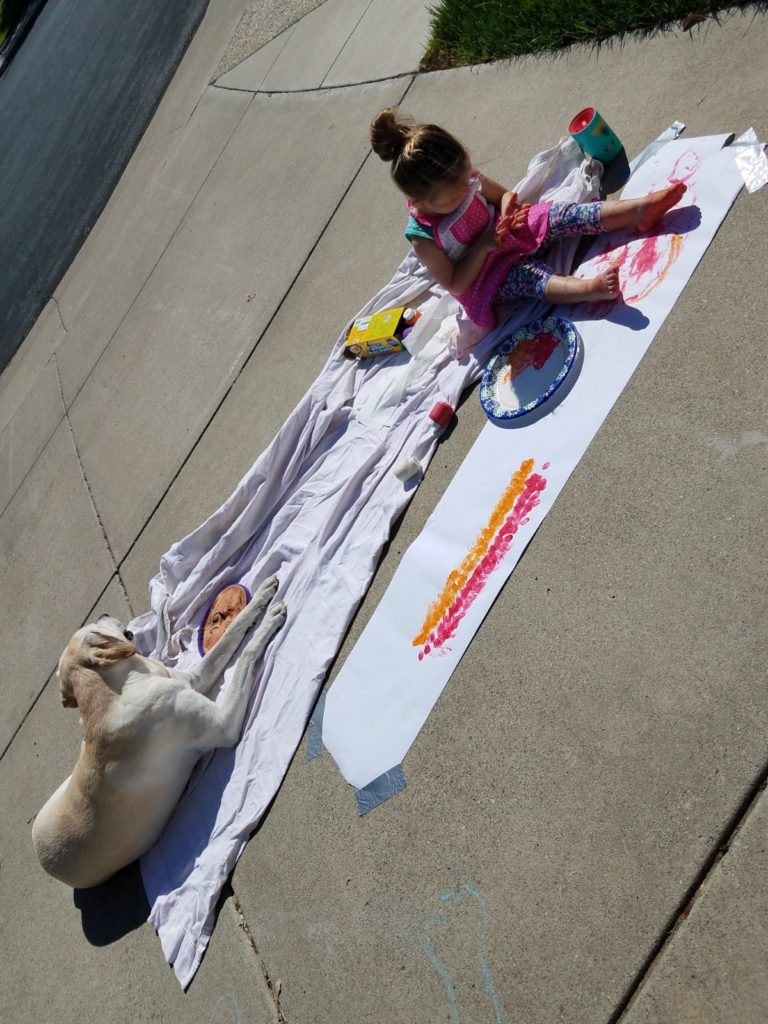
I am so glad it was a nice day and we could do this one outside. My vision was to use each color of the rainbow and have her finger paint a rainbow (or something abstract) using all of the colors, one at a time. It worked pretty well through the color yellow, but then came those dang feet. I tried to keep us on track and still give her one color at a time to put on her hands and feet, but everything was getting mixed up, so I just let her do her thing. I did do my own little fingerprint rainbow (that you can see the start of in one of the pictures) but our canvas got trampled on by Kallie before I could take a final picture of it. Oh! People have asked how I get all of that paint off of her and it’s because of these awesome paints by Crayola that really are washable, and actually easy to wash off (even out of the dogs fur and most fabrics so far).


This weather theme activities week also happened to be the week that I had a day where I just couldn’t keep Emily busy enough (I think it was rainbow day). I talk about it in a post called One GENIUS Way to keep your 2 year old busy. Check it out if you need a new idea!
Does anyone else have a kid that likes to experience life through their feet?? If so, please leave a comment! I’d love to hear about it!
And now, here’s….
HOW TO Make A Kite – THAT FLIES!


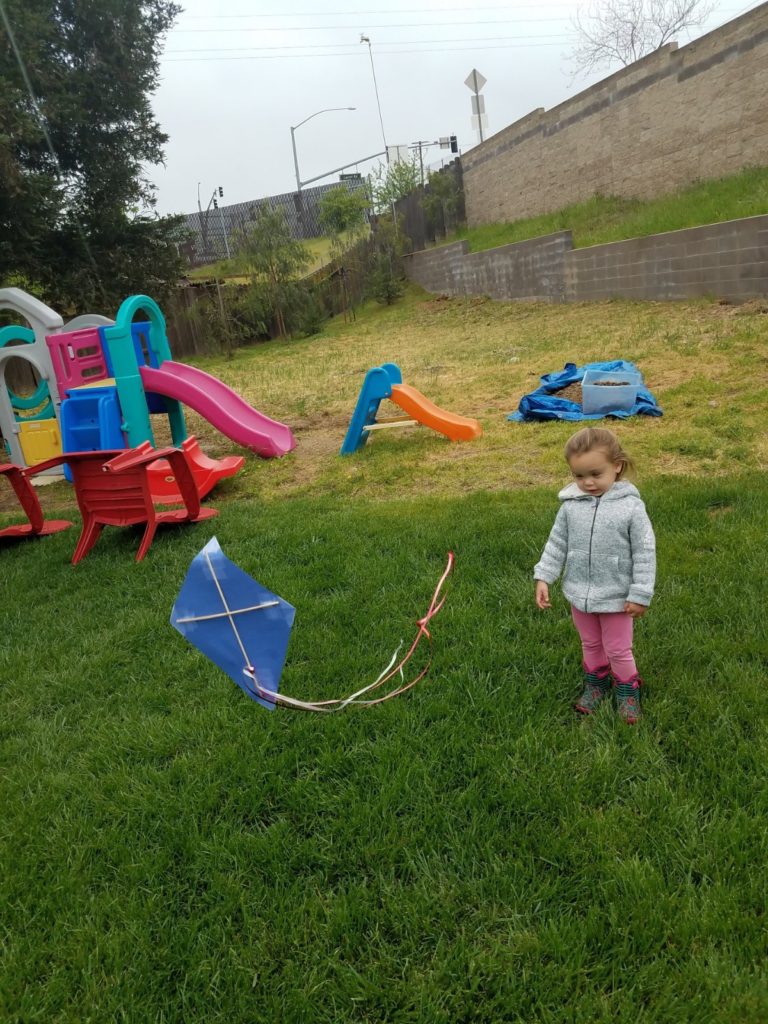

I was super proud of myself for this one because it actually FLEW (and we made 2 of them so I know it wasn’t just luck). It miraculously survived and held up well with Emily taking off, with it dragging on the ground, or taking off with it while I was trying to reel the string back in, or the cat taking off with it. She’s too young to really understand “how” to fly it, she just wants to R U N with it, so I had to think of a way to make one that was perfect size for her to do that. Of course I spent a lot of time chasing her and untangling her, but fortunately it was a really windy day so it didn’t take much for the kite to stay in the air. I know there are a ton of ways to make a kite, but here’s how I did it. It’s not fancy at all, but I didn’t have to buy anything- it came together quickly from stuff I already had in the house. Have fun and get cute and creative with yours!
Supplies needed:
- Scissors
- Scotch Tape (or other lightweight transparent tape)
- 1 piece of rectangular construction paper
- 2 wooden skewers (the kind you use for kabobs) or lightweight wooden dowels– it also works with pipe cleaners, but it’s not as stable when it crashes
- Curling ribbon
- Fishing line (I used this because I didn’t have any string, but it’s also lightweight and doesn’t break when the kite gets snagged on something)
- Empty toilet paper roll tube (or paper towel roll tube cut in half)
Directions:
STEP 1: Cut the construction paper into a diamond shape that is the length and width of the paper (try to get the edges as equal and straight as you can, but it doesn’t have to be perfect… clearly I am not good with straight edges).


STEP 2: Wrap a few strips of transparent tape around each of the corners of the paper to reinforce them and keep them from bending

STEP 3: Lay 2 of the skewers on the paper in a cross pattern, one vertically and one horizontally. Cut the skewers to fit from corner to corner each way so that there is no overhang. Also cut off the sharp end of the skewer if there is one. Tape the ends of the skewers to the paper.

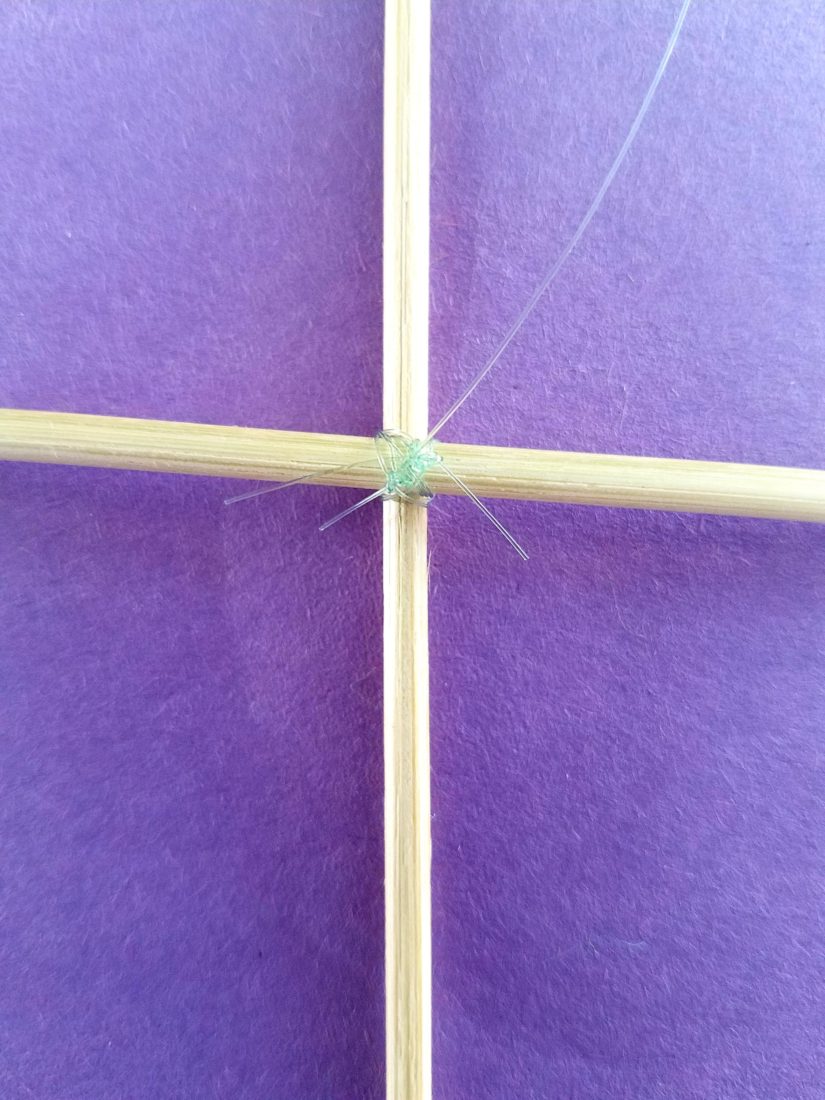
STEP 4: Cut a 24-36 inch piece of fishing line (you can use more or less depending on the age group you are working with, but for us, this length worked best for running with the kite). Feed one end through the center of the skewers and tie them together tightly in a double knot. Repeat this step a few times until both skewers are secure in the middle, and leave the rest of the fishing line loose.
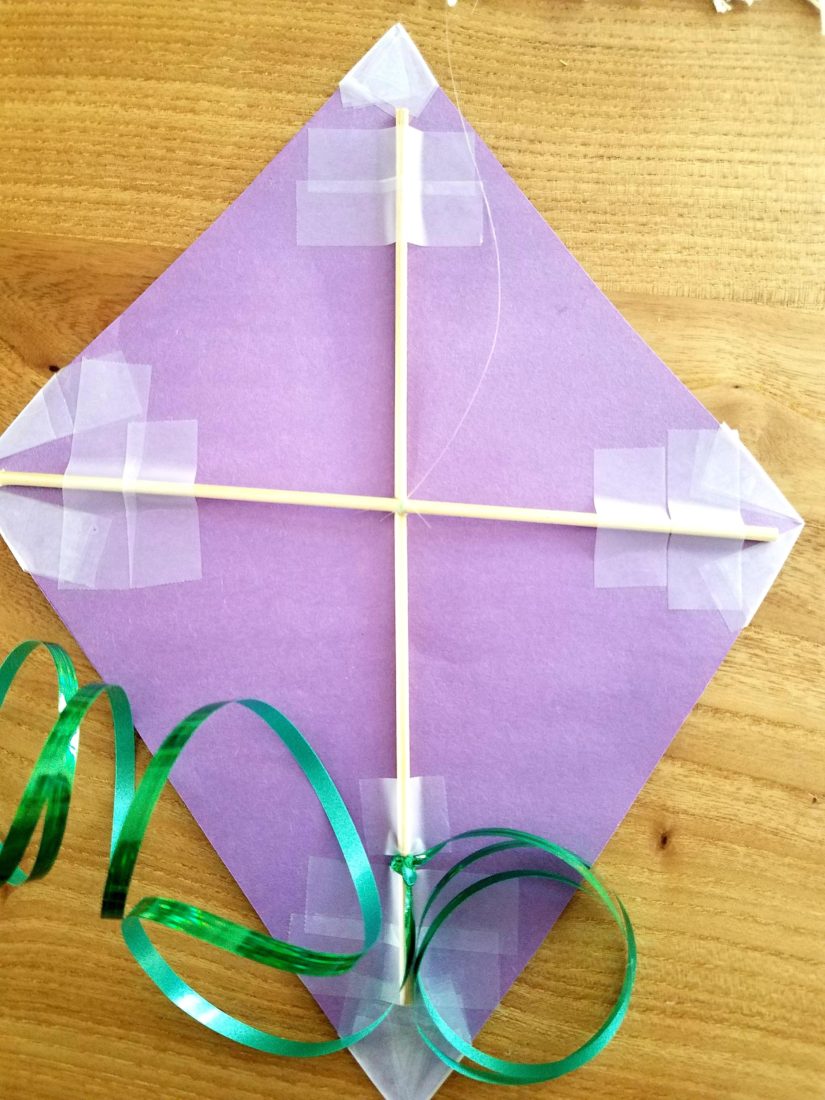
STEP 5: Next, cut a 24 inch (approx.) piece of curling ribbon and tie the center of it to the end of one of the vertical (long) skewers that you choose to be the back of the kite. You should end up with two even strands of ribbon for the kite “tail”.
STEP 6: Cut a 1 1/2 inch slit in one end of the toilet paper roll tube. Feed the loose end of the fishing line down through the slit and up the outside of the tube, then tie it to itself in a double or triple knot. This secures the fishing line to the tube and makes it easy for little hands to hold on to while they run (and it gives just enough weight so the kite won’t fly away if they drop it). Then wind the fishing line around the tube, like a spool.

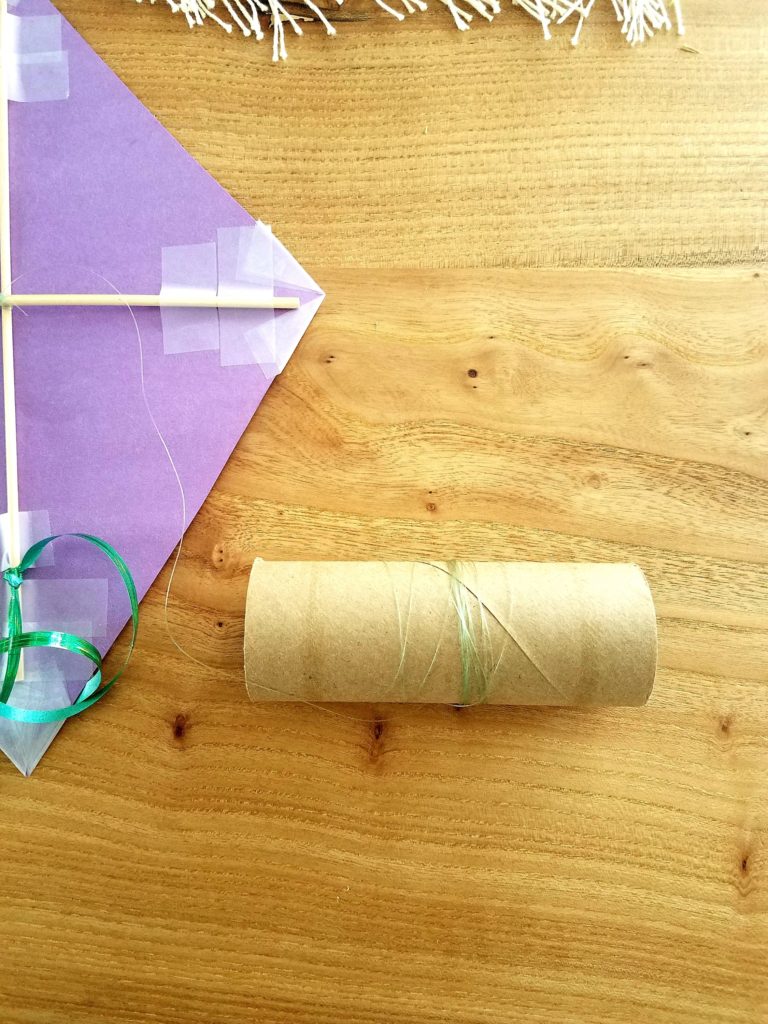
And let the fun begin! I started out by holding the kite and letting Emily hold the TP tube, and once the kite caught some wind I let her go with it. It also worked when it was on the ground and she took off running with it, although it wasn’t a graceful flight, LOL. NOTE: since fishing line is hard to see, kids can get tangled up in it easily so take caution while doing this with little ones.
