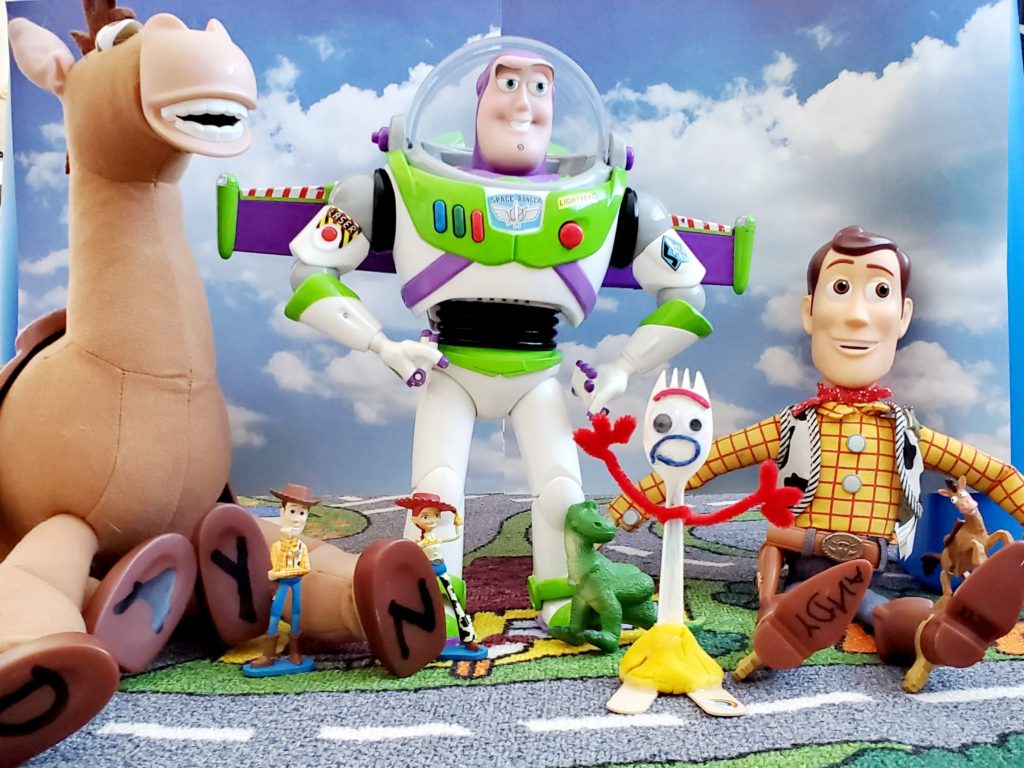
Did you take your family to the theater to see Toy Story 4 this summer? Or were you like me and tell your kid you would take them “next week” but then never took them and just waited for the movie to come out on DVD? I know, mean mommy…but movies are so expensive these days! No matter how/when you saw the movie, I assume your kid now wants their own Forky toy, just like Bonnie, huh? Yeah ours too. And I’m wasn’t about to spend $40+ on a toy spork. So here’s a quick, easy, (and cheap) DIY tutorial on how to make your own Forky (and one that is pretty toddler-proof too).
My three-year-old, Emily, is rough on her toys (remember Toy Story 3 and the Catepillar Room? Totally my kid). I of course let her help make Forky, but I was a little apprehensive on letting her walk away from the table with it, even after ALL of the glue dried. Fortunately, as with any project that involves glue, I’m able to keep her distracted for a bit while the craft dries. If that sounds amazing, I wrote a post about it called One Genius Way To Keep Your Toddler Busy.
So after Forky’s glue dried, I let Emily play with him. I reminded her to be gentle, and she actually was. For 5 minutes. And then she shoved him into a pot on her play kitchen stove and one of his legs fell off. And next she rolled him down a race car ramp and he lost an eye, so she pulled off the other eye. Poor Forky was left with one leg, his arms down around his ankles, his unibrow, and a partially falling off mouth. And Emily brought it to me to “fix”.
🎉 Get $20 Off Outschool Classes!

I knew Forky 2.0 needed to be somewhat toddler (and cat) proof. So I decided to use a fabulous secret weapon: the hot glue gun.
Now, I couldn’t really use the hot glue gun for the first Forky craft because I wanted Emily to help make it, so we stuck with good old Elmer’s glue which worked fine and I suggest doing it that way with your little one too. But have that hot glue ready soon afterward. If you’re making this Forky craft with older kids who can use a hot glue gun supervised, I recommend doing it that way right from the start.
The great thing about Forky is that he’s made of garbage… so realistically if you don’t have all the specific materials in this post, use what you have. No pipe cleaners? Use bread ties for arms. No googly eyes? Draw some with a marker. No modeling dough? Do an online search for DIY modeling dough and you will get a ton of recipes (likely with ingredients you already have in the pantry). The point is for your kids to have fun with it and “make” a new friend. 🙂
We ended up making multiple trial and error Forky crafts. I guess we can call our final version the Forky 5.0. So let’s get to it.
This post may contain Amazon or other affiliate links for products I use and love and think you might enjoy too! It's kinda boring but you can read my full Disclosure Policy HERE.
How To Make Your Own Forky from Toy Story 4
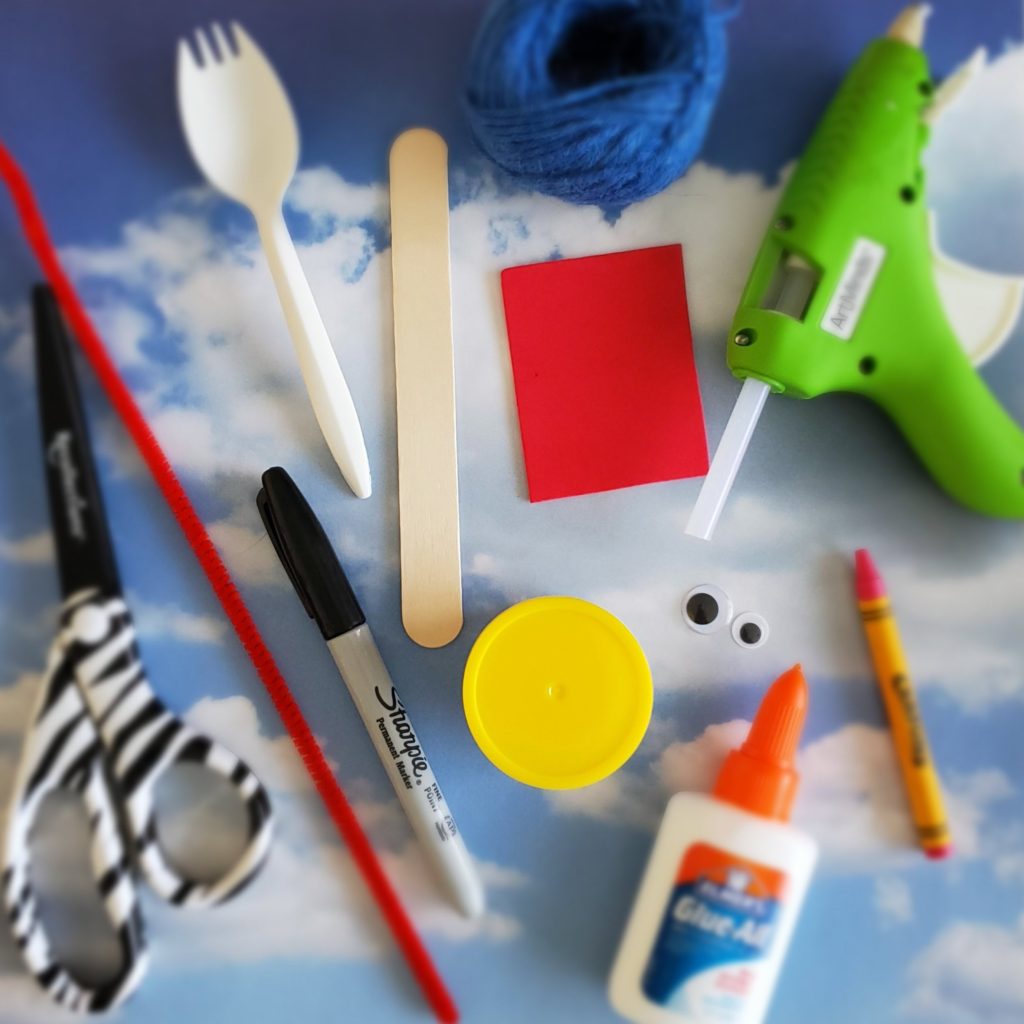
Stuff you’ll need
- 1 – Plastic Spork Utensil (you can likely find one at a local fast food joint. I couldn’t find one anywhere so I bought this bag of 50 from Amazon and we can now make Forky lots of friends)
- 1 – Red Pipe Cleaner
- 1 – Jumbo 6-inch Craft Stick (Popsicle stick)
- 1 – Small piece of thin, red craft foam (or red construction paper)
- Thick, blue string (like jute string. I bought this colorful variety of jute string on Amazon since I will be using it for other crafts). Wikki Stix would also be a good option for older kids
- 1 – Small container of dollar store modeling dough– any color will do (it’s like Play Doh but the super cheap version, I’ll explain why below)
- 1 – Medium size googly eye (Amazon sells a set of google eyes in a variety of sizes which is a good buy if you plan to make Forky some friends :))
- 1 – Small size googly eye
- Pink or red crayon
- Blue crayon
- Permanent marker in teal (or black)
- Pair of scissors
- Elmer’s glue
- Small Rainbow Sticker (if available, or use any small sticker or just draw one)
- Optional (but recommended): Hot glue gun and glue sticks
.
Instructions
STEP 1: (Little bit of) Prep Work
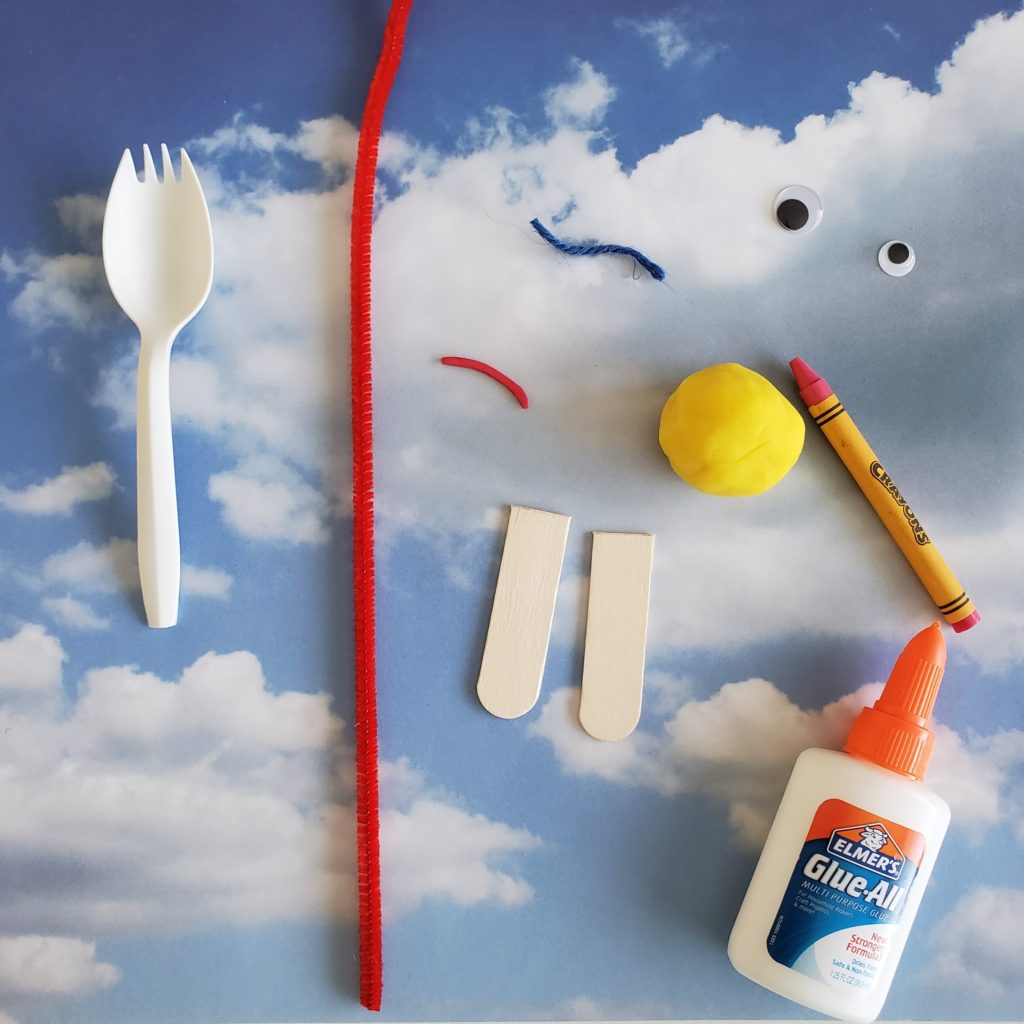
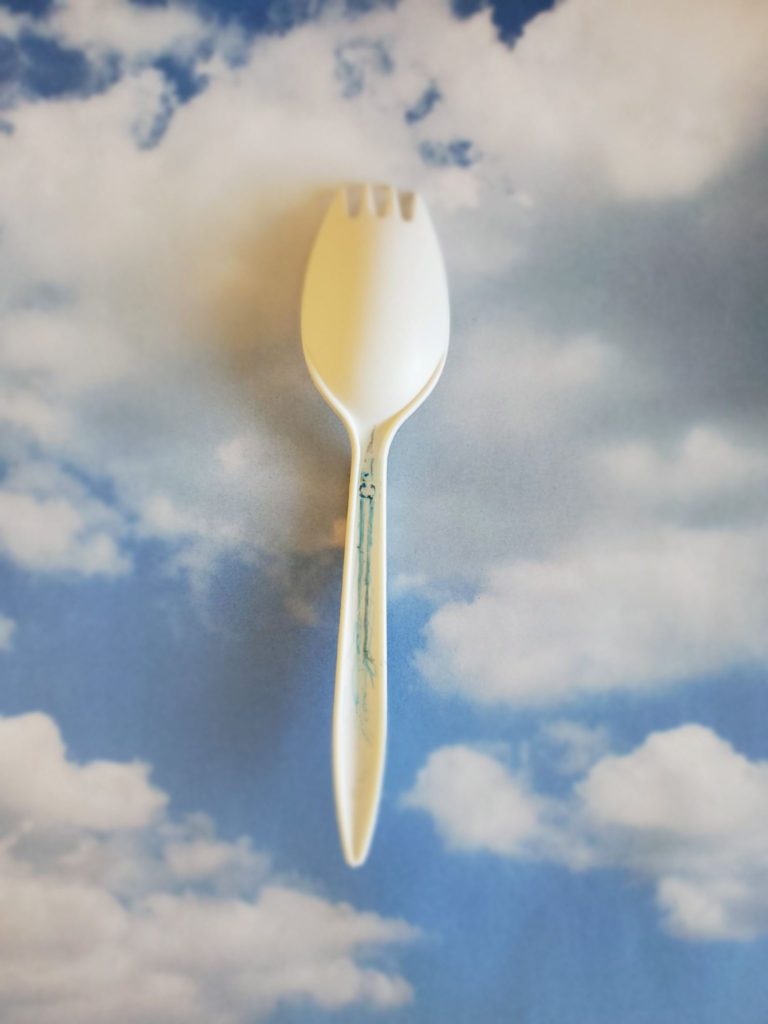
Cut the pointed end off the spork (about 1/8 to 1/4 of an inch) so that the end is flat (this helps make Forky’s body more secure). If your spork already has a flat end, skip this step.
Cut the craft / popsicle stick in half (it doesn’t have to be perfect). Then cut about 1/2 inch off of each half piece, and try to make those pieces the same size/length. These will be Forky’s feet. Note: if you are using a regular size popsicle stick instead, just cut it in half, you won’t need to shorten the pieces.
Cut a small (maybe 1 ¼ in.), curved line out of the red foam (or construction paper). This will be Forky’s unibrow, so think “eyebrow shape” when you’re cutting.
Cut a 2-inch piece off the blue string. This will be Forky’s mouth.
NOTE: If you don’t have red foam or blue string, red and blue permanent markers work too. Wikki Stix would also be a good option for older kids for the mouth and eyebrow because they can be re-shaped. I chose to not make the facial features movable because my kid would end up eating the pieces.
.
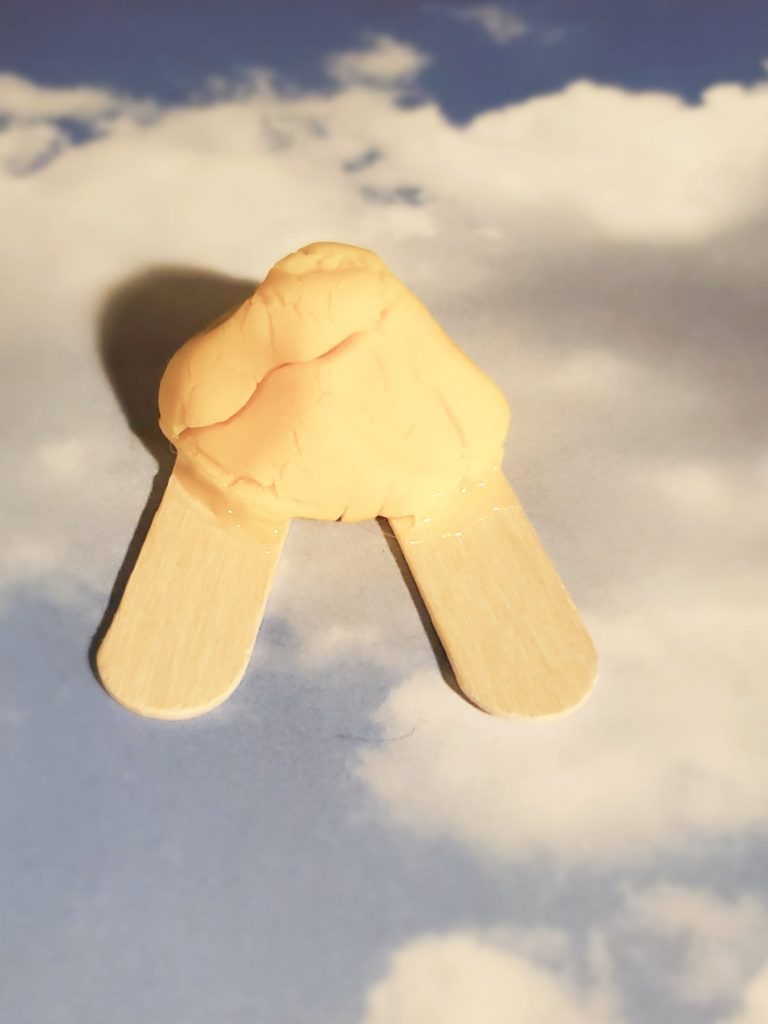
STEP 2: Make Forky’s Base
Take a chunk of the molding dough and roll it into a ball about the size of a ping-pong ball. Then form it into a mountain shape, keeping it wide and flat on the bottom and a mound in the middle. This will be used to attach Forky’s feet to his body…it’s kind of like his booty :).
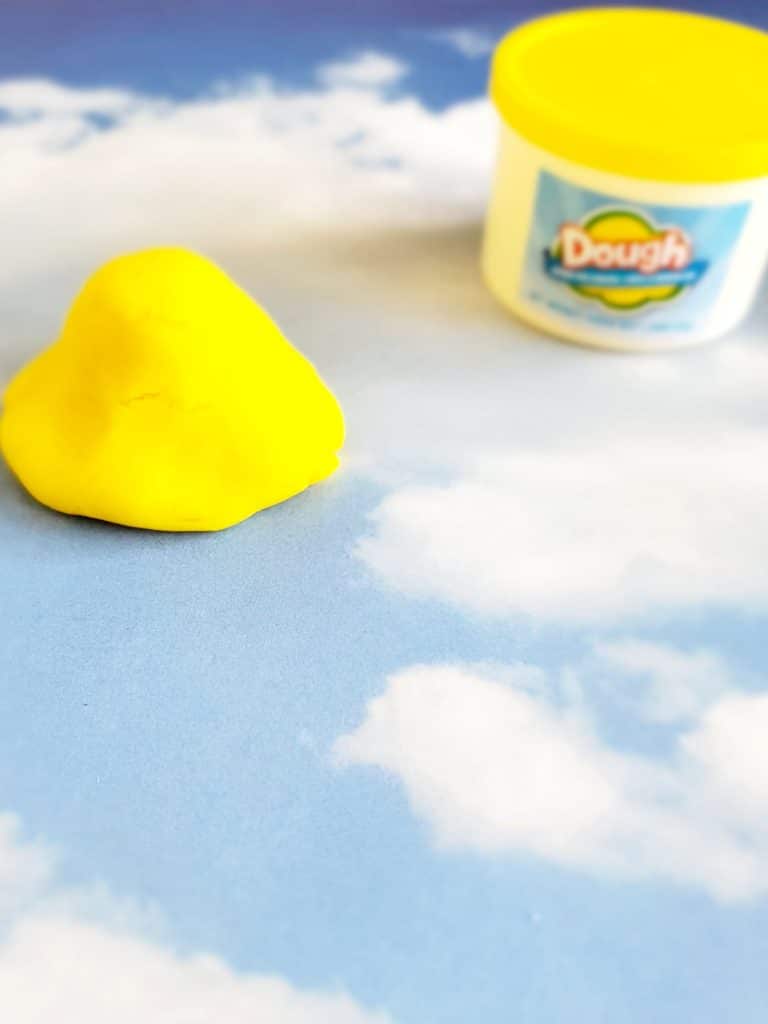
Note: I used the dollar store dough because it dries super hard, like clay. And it dries out pretty quick. So it works great for crafts with impatient toddlers. At my local dollar store I can get a 4-pack of regular size containers or an 8-pack of mini 1.5 oz containers which is a great deal. For any sensory play or other molding activities I prefer brand name Play Doh, because it doesn’t dry out that fast.
.
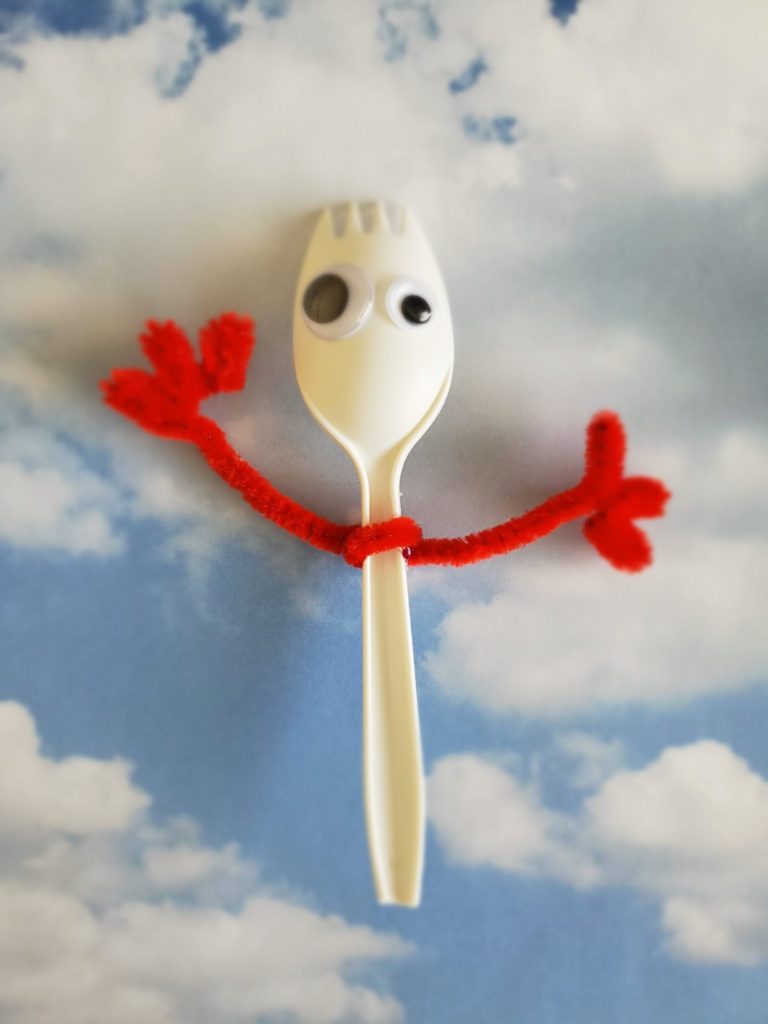
STEP 3- Make Forky’s Body and Arms
Lay the spork on a flat surface with the back of it facing you. Use the blue crayon to color the handle of the spork in between the edges.
Flip the spork over, then take the pipe cleaner and twist it up and across the handle of the spork one time, about 1/2 inch below the curved part.
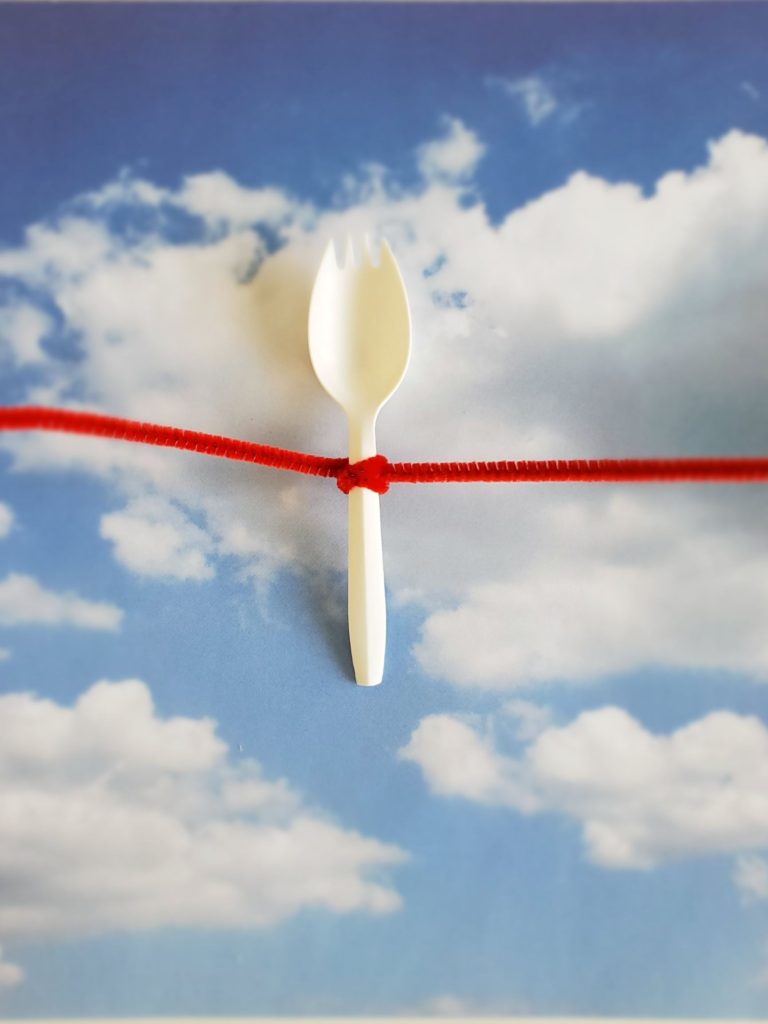
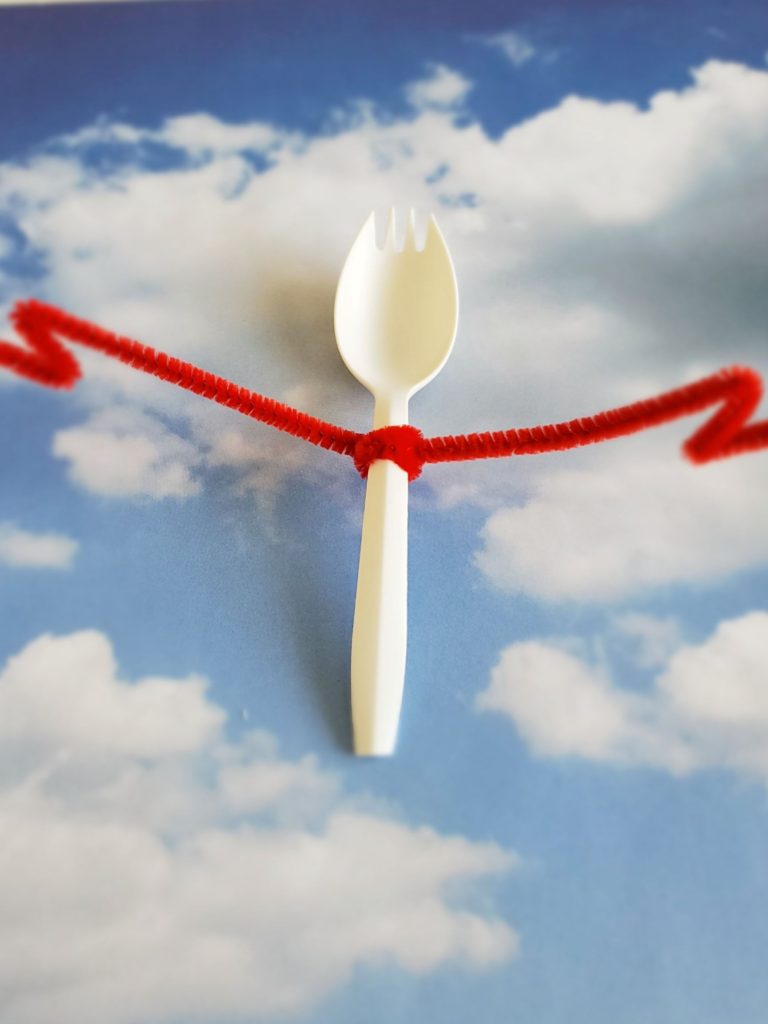
Next, bend the ends of the pipe cleaner in a back-and-forth way to form 3 “fingers”. Put a couple of drops of hot glue where the pipe cleaner meets the spork handle to keep it from sliding up and down the handle.
.
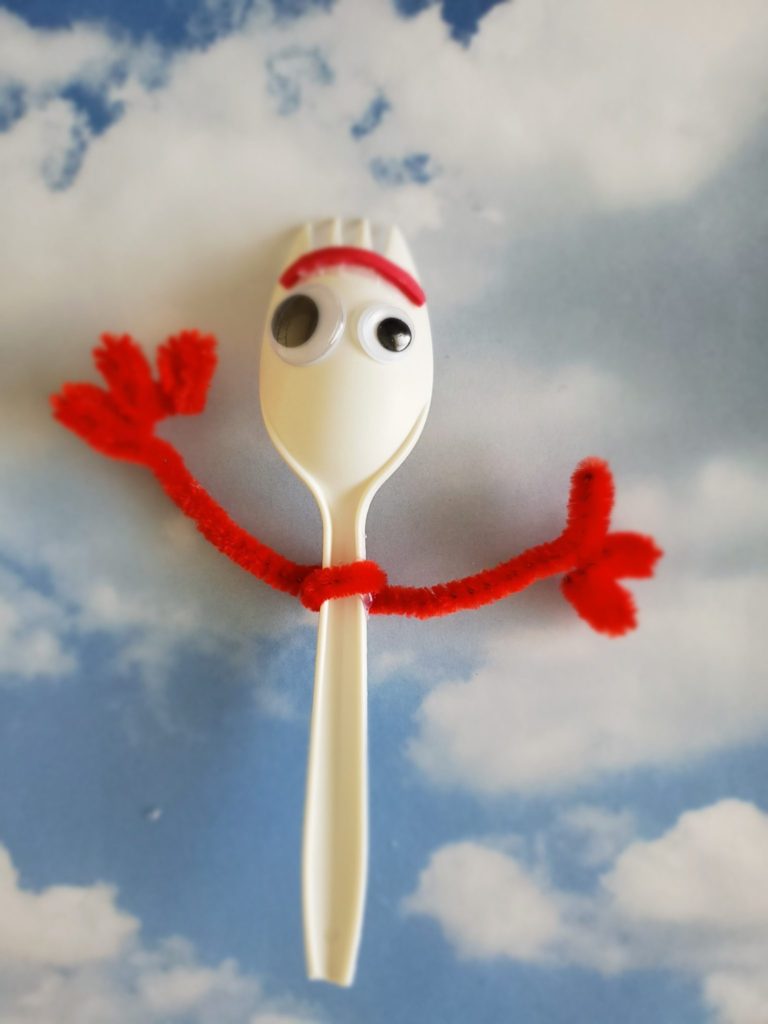
STEP 4- Make Forky’s Face
Flip the spork over so the back is facing you again. This will be the front of Forky. Take the larger googly eye and glue it to the left middle side of the spork. Then glue the smaller googly eye next to it on the right side.
Next, glue on the red foam unibrow above the eyes.
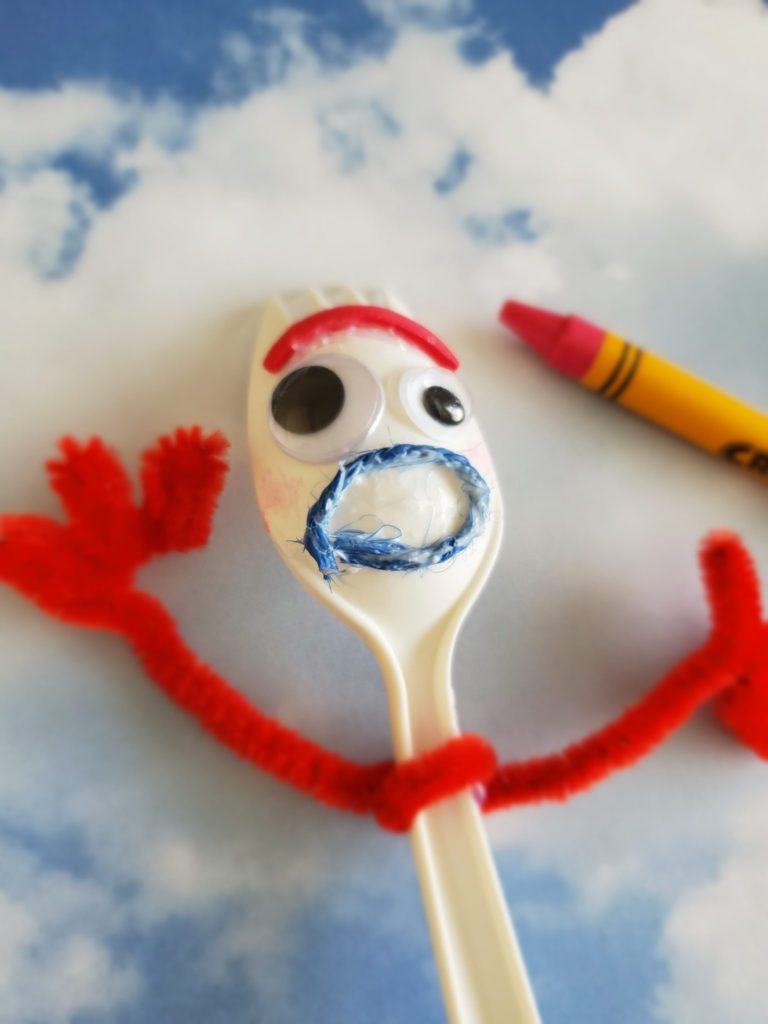
Then, take the blue string and glue it in whatever shape you want underneath the eyes. For the mouth I used only Elmer’s glue and I completely covered the string with it so it would stay in place and dry hard.

Last, using the pink or red crayon, give Forky some cheeks.
.
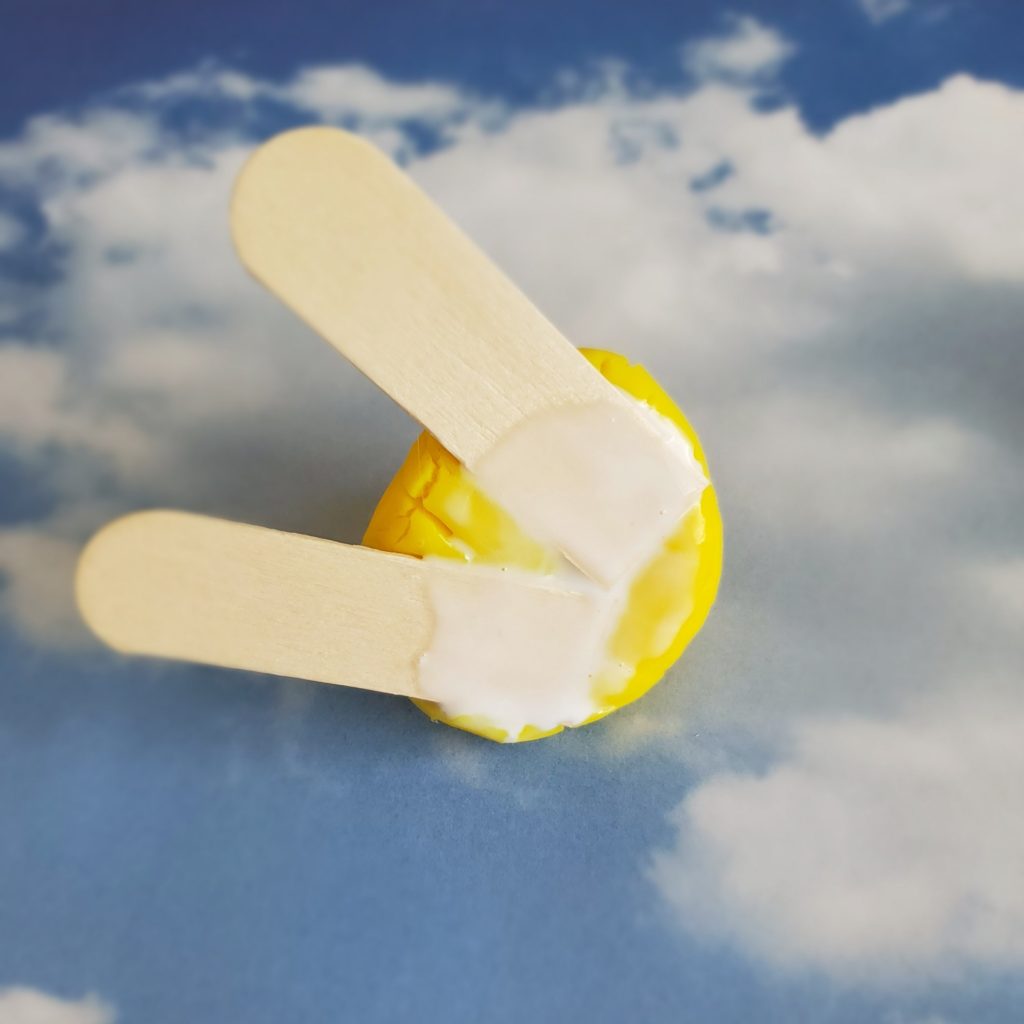
STEP 5- Attach Forky’s Legs/Feet
Get the craft stick pieces, lay them flat with the inner corners touching and the round ends angled outward a little bit. Put a huge drop of glue at the flat ends of each piece (I used both Elmer’s and hot glue). Next, take the dough mountain and push it gently on top of the glue on the popsicle sticks. This is now Forky’s booty and legs/feet.

Note: I also slathered a ton of Elmer’s glue over the popsicle sticks on the underside of the dough to keep them from breaking off. It does take a bit to dry though.
.
STEP 6- Final Assembly and playtime
Stick the spork into the mound of the dough so that it has a secure fit in the dough (but not coming through the bottom of the dough). Then pull the spork out, put some glue in the hole, and put the spork back in. I used both Elmer’s glue and hot glue here. Let it dry for a few minutes before moving. The glue and dough will dry completely overnight.
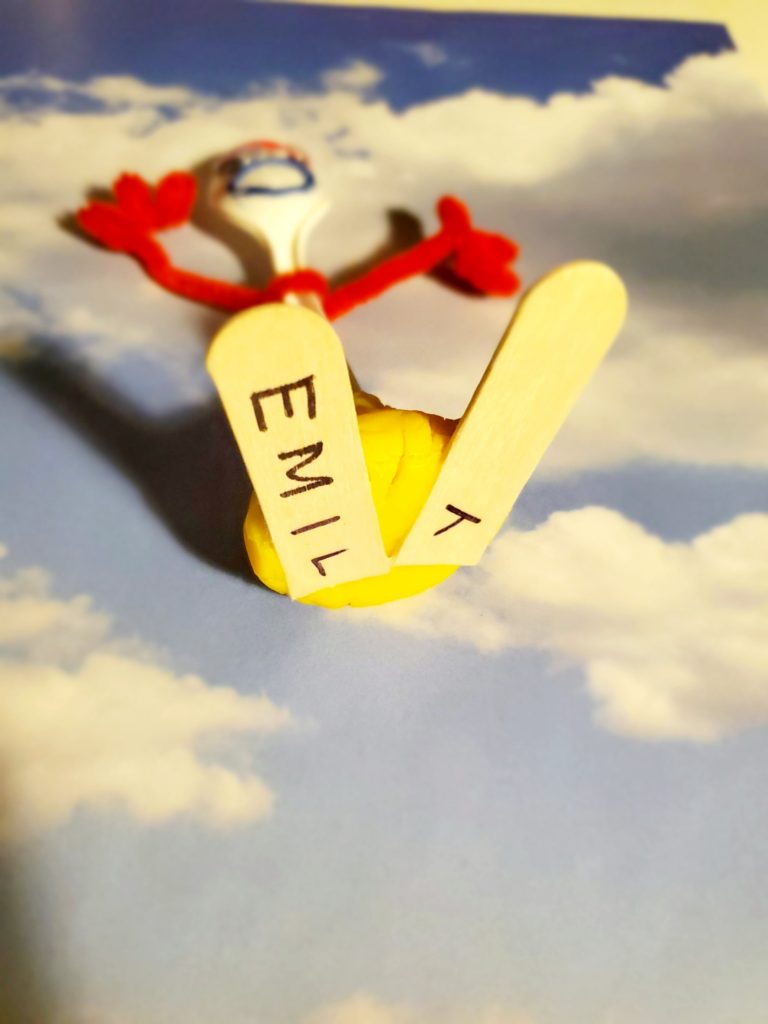
Take the permanent marker and write your child’s name (or BONNIE) on the underside of Forky’s legs (but wait for the glue to dry from the previous step). Then add the rainbow sticker to the top side of the right leg towards the curved end (aka Forky’s foot).
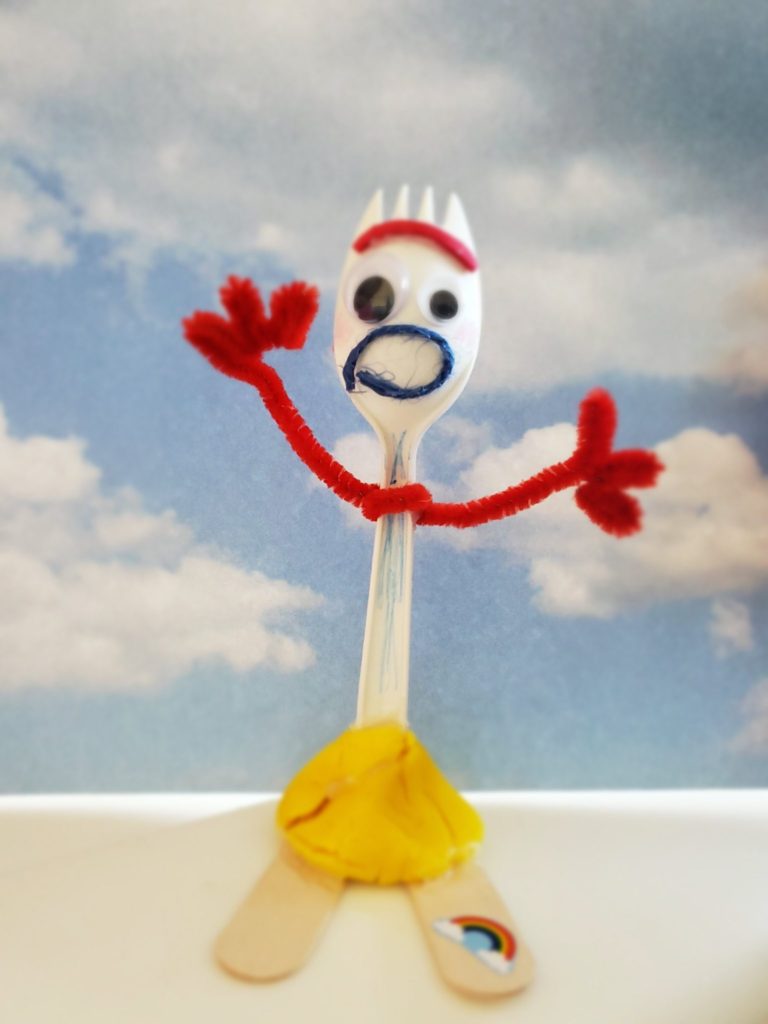
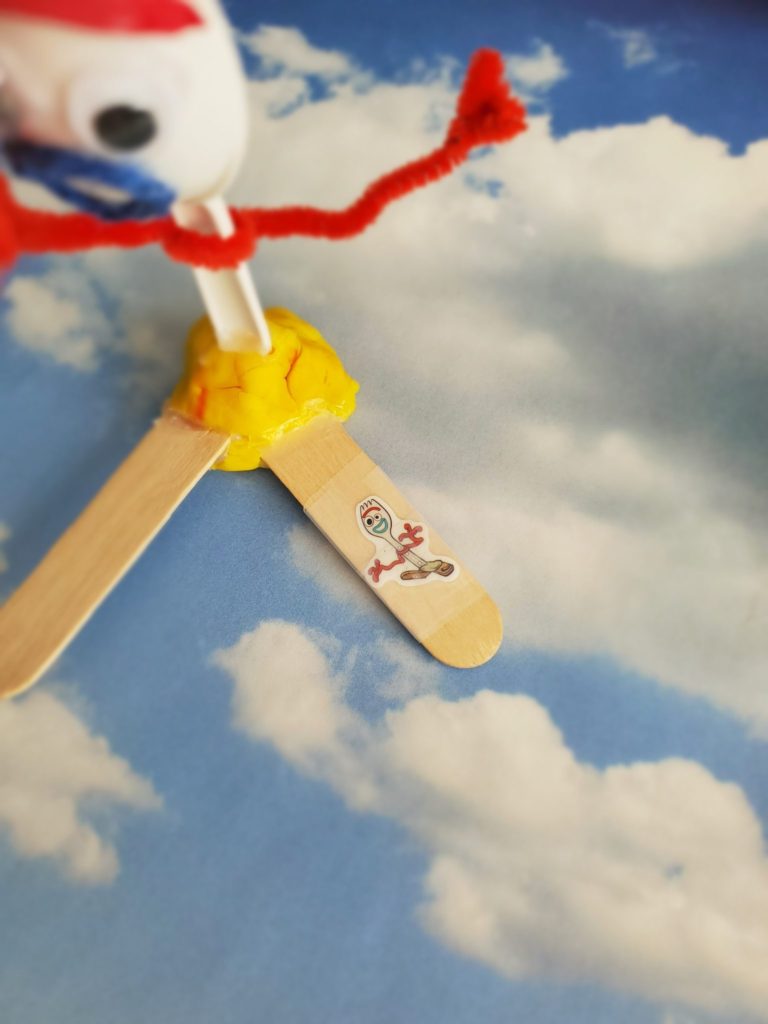
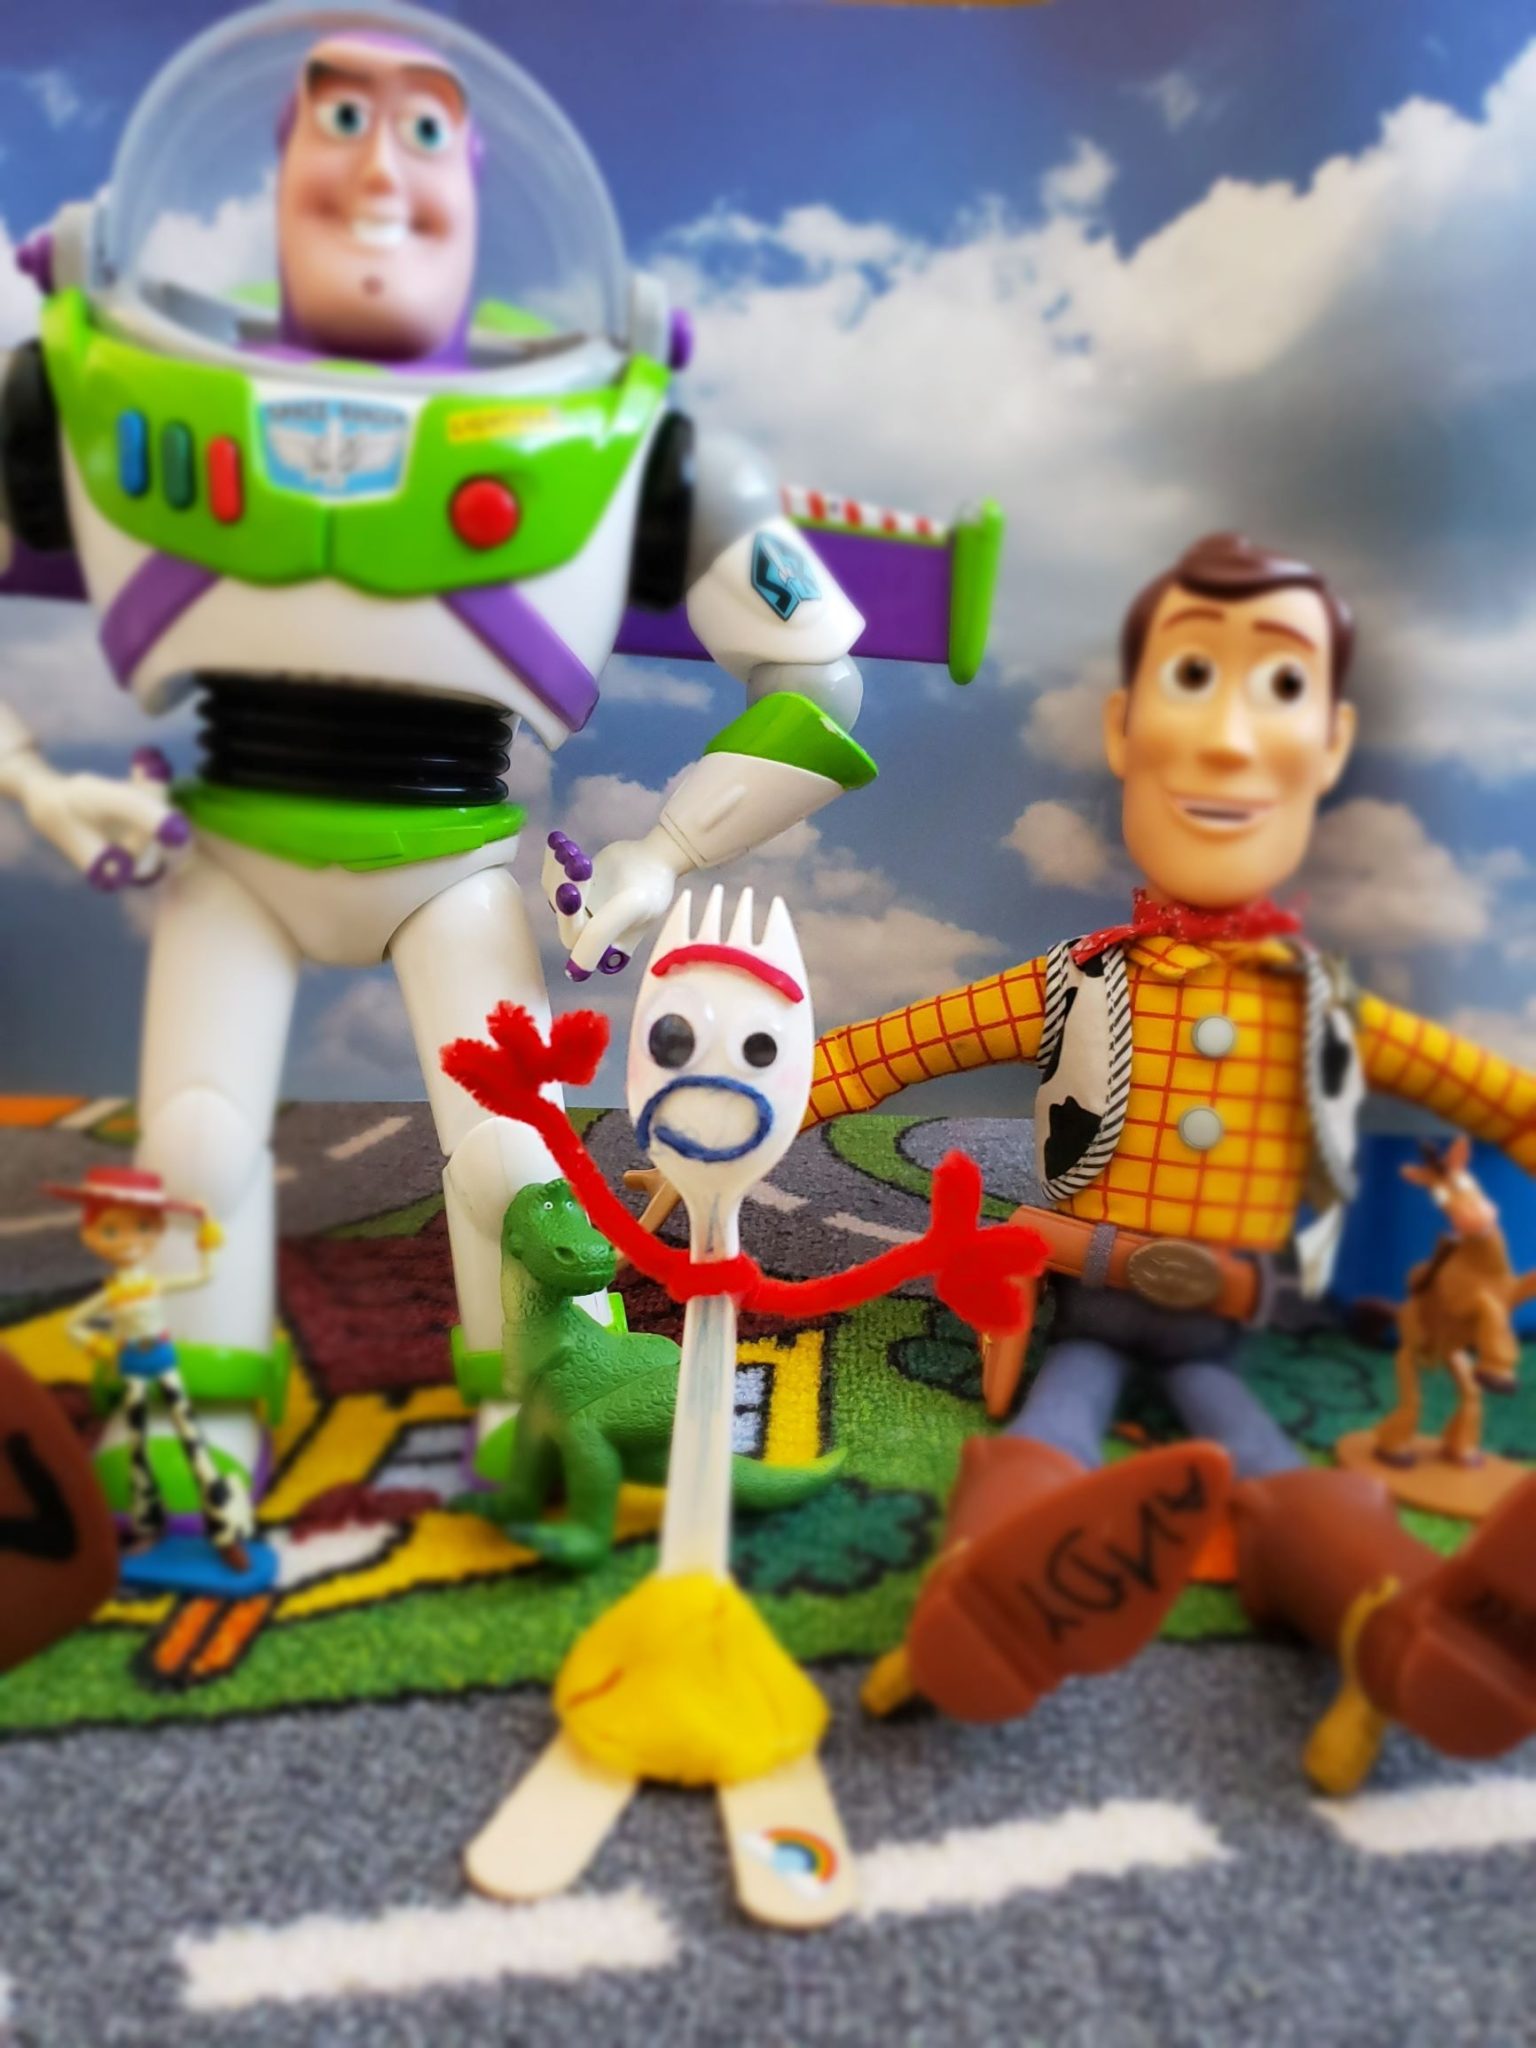
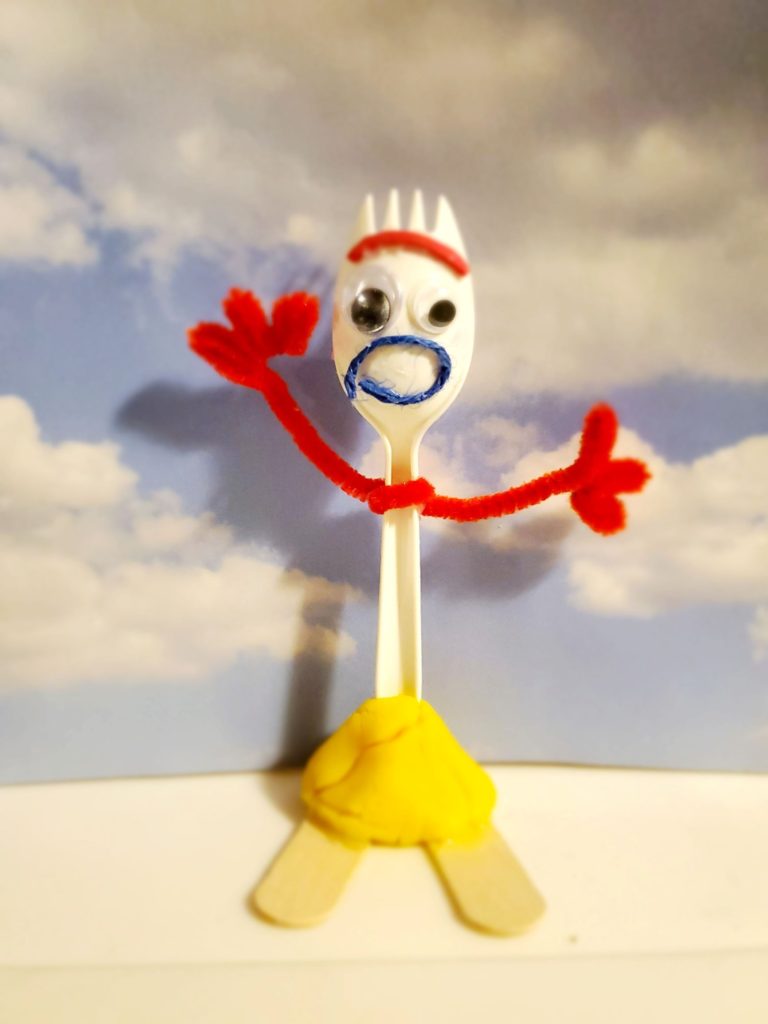
And now you have a Forky to add to your Toy Story collection!
.
Additional NOTES:
- If you used the Wikki Stix for the eyebrow and mouth, you won’t need to glue them on as they are meant to be formed and shaped and will stick to the spork on their own.
- Substitute hot glue for ALL of the glue except for the steps mentioned to use Elmer’s glue specifically.
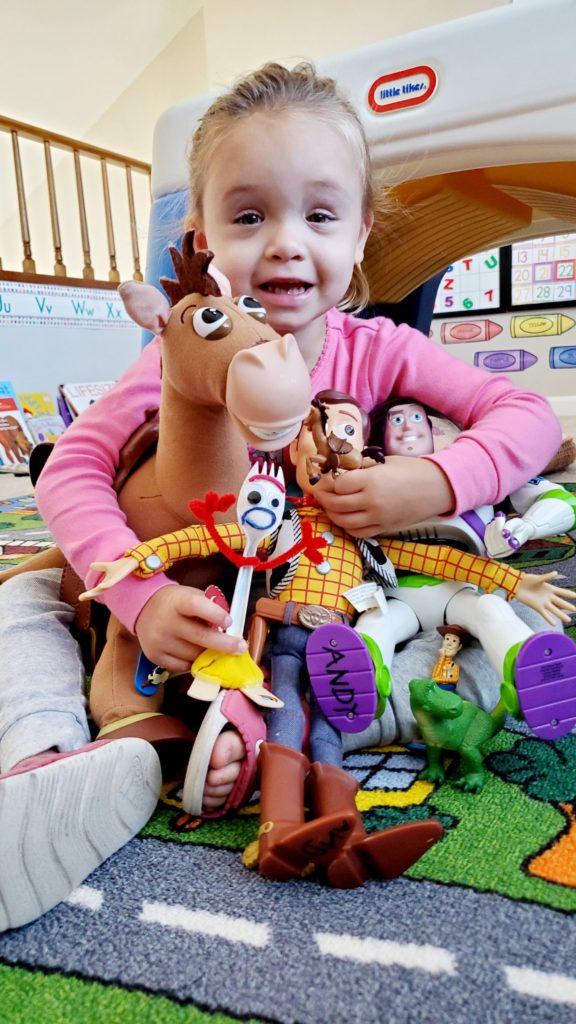
I hope your kiddo has a ton of fun with their new friend. Emily has been bringing Forky everywhere with us and getting a ton of compliments.