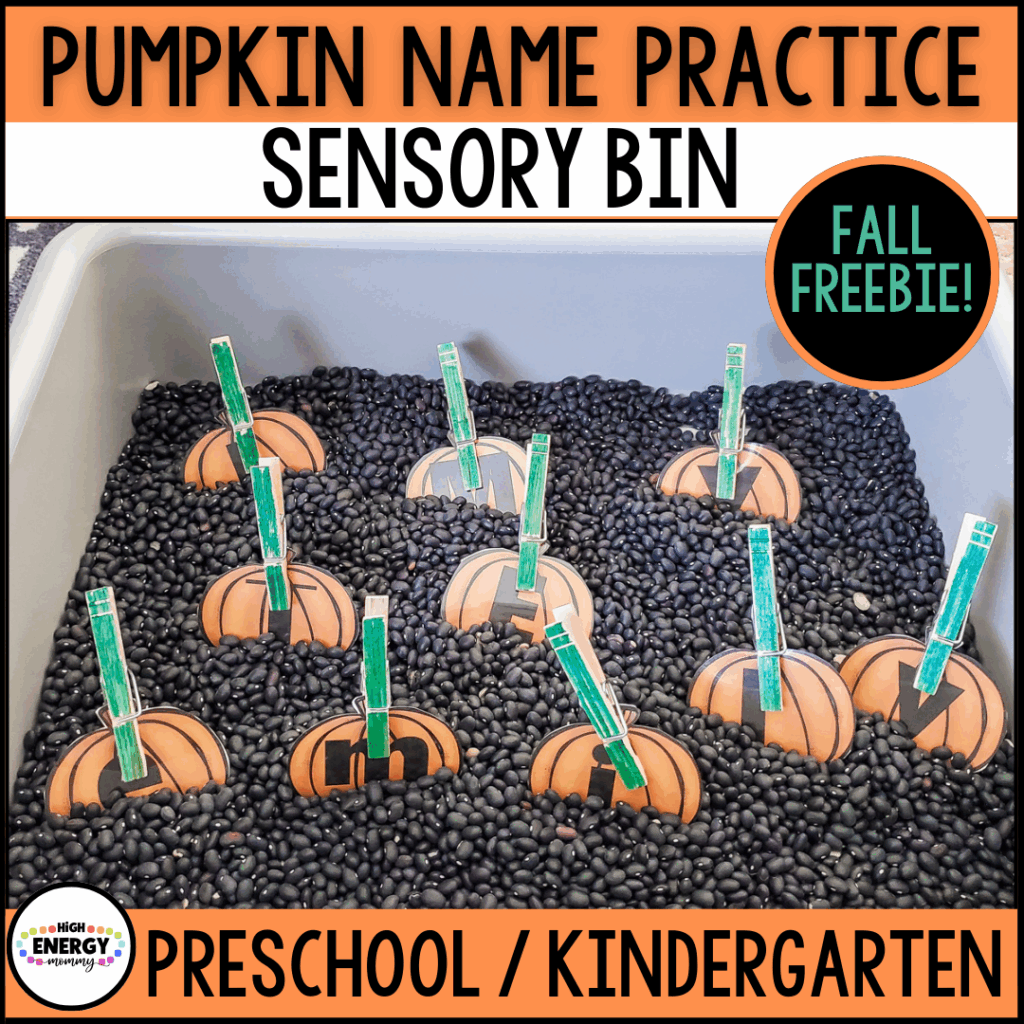
I love including name practice in our themed learning! This Fall Pumpkin Name Practice Sensory Bin helps with name recognition, letter matching, and motor skills. It’s perfect for Halloween or Fall and it’s FREE, which is why it definitely makes our list of 31 Super Fun Halloween Activities to do in Preschool!
If you’ve yet to run your hands or feet through a bin of dry beans (or corn) you need to try it with this one. It’s a very calm and soothing feeling I had no idea I would enjoy!
This activity is easy to put together and there are so many things you can do with it! In addition to name practice, use it for letter recognition for the entire alphabet; numbers and counting; shapes; sight words; math problems; colors; and anything else you can think of that your child can match up! We used it when we were practicing our phone number too.

To get started on setting up this sensory bin, you will need the free fall pumpkin name practice printable, that you can download below! If you want more FREE name practice activities be sure to check out our Fall Turkey Feather Name Practice Activity or School Bus Name Practice Activity!
This post may contain Amazon, or other, affiliate links for products that I personally use and recommend for kids and homeschool learning. This means I will earn a small commission if you purchase through my link, and if you do, we thank you so much! For more information, please read the full Disclaimer and Disclosure.
QUICK TIP: For repeated use, I highly recommend laminating the pumpkins before writing on them. That way you can use a dry erase marker to write the letters and erase when done. This allows you to use this sensory bin to practice middle and last names, phone numbers, the alphabet, numbers, etc…
This Scotch Laminator is the inexpensive, workhorse laminator that I’ve used for years.
Or try these Self-Adhesive Laminating Sheets that I loved before I started laminating so much I had to buy a machine.
And I’m sure you’ve heard this before, but Expo Dry Erase Markers work the best! Use a Magic Eraser to fully clean the marker from the pumpkins.
Here’s what you need to set up the Fall Pumpkin Name Practice Sensory Bin:
- A large sensory bin or extra large container – I really like this Sensory Bin Play Tray with Lid. Mine doesn’t have a lid and I wish it did so I could re-do the same sensory activity for a few days and have it be quickly ready to go.
- 4 or 5 one-pound bags of dry black beans *or* one large bag of beans (or you can use dry corn kernels too) – I bought my bags of beans from the dollar store
- Clothespins – you can use plain clothespins or get some of these Mini-Colored Clothespins. You will use them as stems for the pumpkins so brown or green will give it a little extra fun
- White Cardstock paper
- The Pumpkin Name Practice Sensory Bin Printable
- Laminator (optional)
How to put the sensory bin together:
- On cardstock paper, print all activity pages from the Pumpkin Name Practice printable. Laminate.
- Cut out each ORANGE pumpkin.
- Using a black dry erase marker, write one letter of your child’s name on each orange pumpkin. *You can also print multiple pumpkins and do a set of upper-case letters and lower-case letters.
- Clip a clothespin to each orange pumpkin for its “stem”.
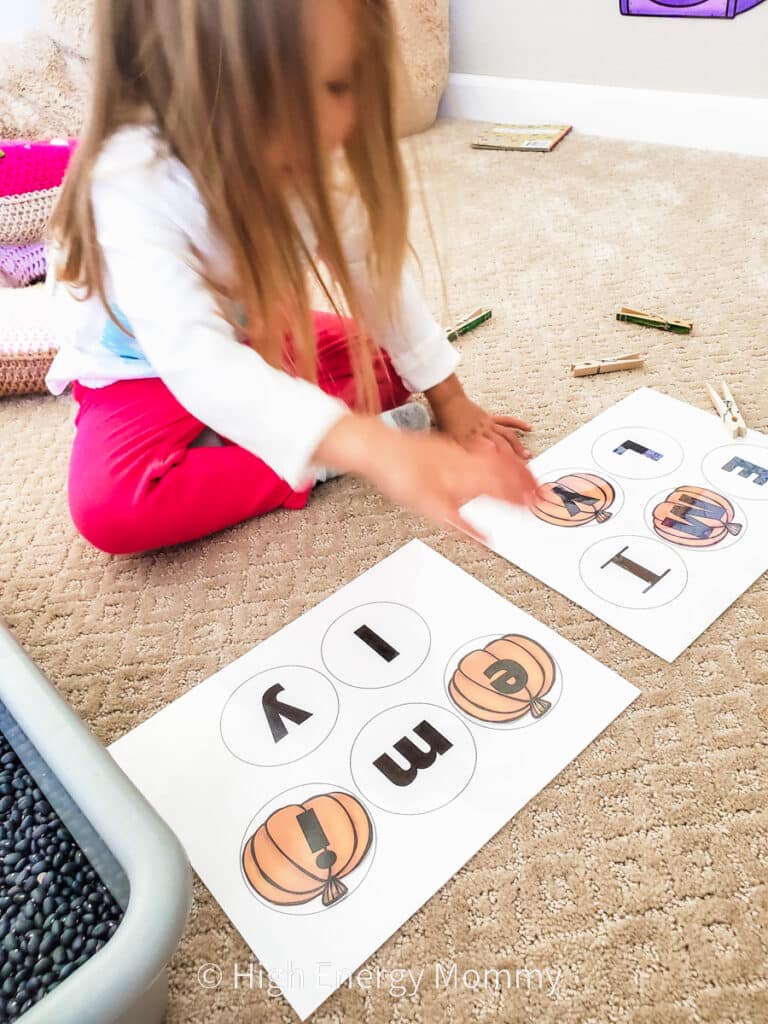
- On the “Letter Match Up” page, (laminate this too) write one letter of your child’s name in order, in each of the white pumpkins. Again, you can make one sheet for upper case and one for lower case.
- The name on the Letter Match Up page doesn’t have to read in one row, as long as all of the letters are in order. The point of this activity is for your child to practice the letters of their name in order. If you prefer, or if your child has an extra long name, you can cut the Letter Match Up page in half lengthwise and tape the ends together so their name is in one long row.
- Empty each bag of beans into the sensory bin.
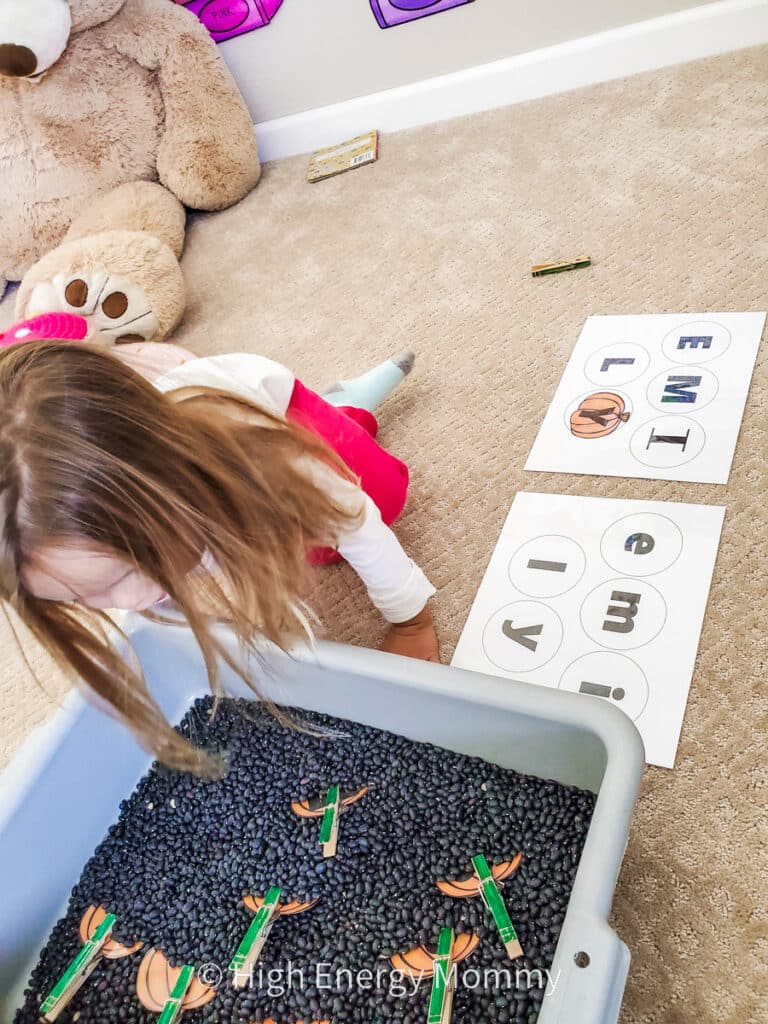
- Next, carefully push each pumpkin into the beans, so they are partially covered and stems are sticking up. They do not have to be in letter order of your child’s name.
- Have your kiddo go through the bin and pull out one pumpkin at a time, in letter order of their name. Unclip the stem from the pumpkin and match that letter pumpkin to the white pumpkin on the “letter matching page”.
- Repeat until all letters are matched up.
- Once all letters have been matched up, have them spell their name pointing to each letter as they go.
Get the FREE Pumpkin Name Practice Sensory Bin Printable from my Teachers Pay Teachers store (click on the image or the resource name below):

You can keep practicing the spelling of their first name or you can change the pumpkins to one of the other suggestions I mentioned above! Or you can just let them play in the beans. Be sure you run your hands (or feet!) through the beans too!
